
Food canning works because the product is sealed, heated, cooled, and checked as one controlled process. Miss one part, and the can is just a metal container with food inside. Do it correctly, and the product can stay shelf-stable without refrigeration.
The basic logic is simple:
Prepare the food. Fill the can. Remove air. Seal it. Heat-process it. Cool it. Inspect it. Pack it.
That is the industrial canning process in plain terms.
1. What Industrial Canning Is Really Doing
Canning is not just cooking food in a can.
The real goal is to create a sealed food system that resists spoilage. The heat treatment kills or controls microorganisms. The sealed metal can prevents new contamination after processing. This combination of heat and hermetic sealing is the reason canned food can sit at room temperature for months or years.
For low-acid canned foods, the control requirements are stricter. The FDA defines low-acid canned food as food with a finished equilibrium pH above 4.6 and water activity above 0.85, with some exceptions for tomato products. These products need a validated thermal process because they can support the growth of heat-resistant microorganisms if processed incorrectly.(Quelle)
That is why canned soup, tuna, beans, corn, meat, and ready meals are treated differently from high-acid products like many fruits or pickled foods.
2. Step 1: Raw Material Receiving
The process starts before the canning line.
Raw ingredients arrive at the plant and are checked for quality. For fruits and vegetables, this usually means checking maturity, color, size, damage, soil, insects, and foreign material. For meat and seafood, the checks focus more on freshness, trimming condition, temperature control, and contamination risk.
Bad raw material does not become good canned food after sterilization. Heat can make food safe. It cannot fix poor texture, old flavor, or damaged ingredients.
So the first practical rule is this:
Canning protects quality. It does not create quality from nothing.
3. Step 2: Washing, Sorting, and Grading
After receiving, the food is washed.
In fruit and vegetable canning, washing removes soil, dust, field debris, and surface contamination. Industrial plants often use water jets, soaking systems, conveyors, rotating drums, or screen systems. The exact setup depends on the product.
Sorting and grading come next. The plant separates ingredients by size, color, maturity, shape, and visible defects. This helps the line run more evenly. It also helps the heat process behave more predictably.
Why does size matter? Because heat moves through food at different speeds. A can filled with uneven pieces does not heat as uniformly as a can filled with pieces of similar size.
4. Step 3: Cutting, Peeling, Trimming, and Blanching
The food is then prepared for packing.
Common operations include:
- peeling
- coring
- pitting
- slicing
- dicing
- trimming
- deboning
- filleting
- pre-cooking
- blanching
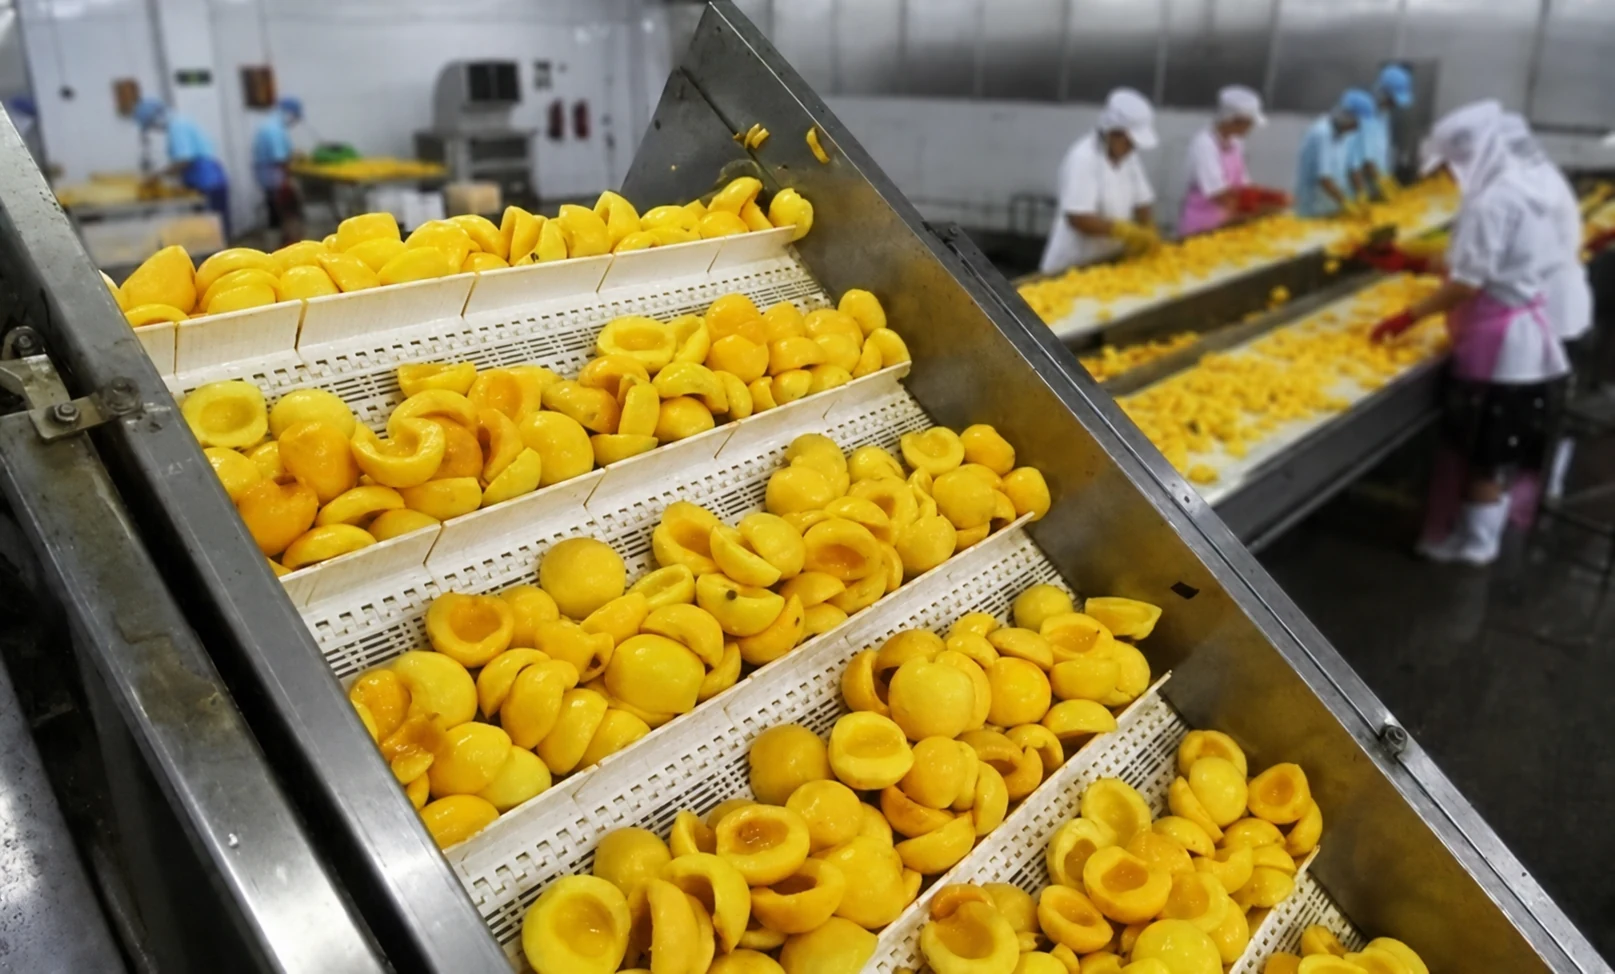
Blanching is common in fruit and vegetable canning. It uses hot water or steam for a short, controlled time. The purpose is not just to soften the food. Blanching can reduce enzyme activity, lower microbial load, help remove trapped gases, improve packing, and stabilize color or texture.
Timing matters here. Under-blanching can leave enzyme activity behind. Over-blanching can damage texture, color, and nutrients. This is one of those steps that looks simple from the outside but needs product-specific settings.
5. Step 4: Preparing the Metal Cans
The cans are checked before filling.
A metal can must be clean, undamaged, and compatible with the food. Acidic products may need coated cans to reduce reaction between the food and the metal. The can body, can end, coating, seam area, and inner surface all matter.
A dented or defective can should not enter the line. A small mechanical defect can become a sealing problem later.
The can is not just packaging. It is part of the preservation system.
6. Step 5: Filling the Can
Prepared food is portioned into the can.
This may be done by gravity fillers, piston fillers, weigh fillers, vacuum fillers, or product-specific filling systems. Solid food and liquid medium are often added separately.
The liquid may be:
- brine
- syrup
- Wasser
- oil
- broth
- sauce
- juice
This liquid is not only there for taste. It helps with heat transfer, fills spaces between food pieces, supports product consistency, and can help control salt, sugar, acidity, or flavor.
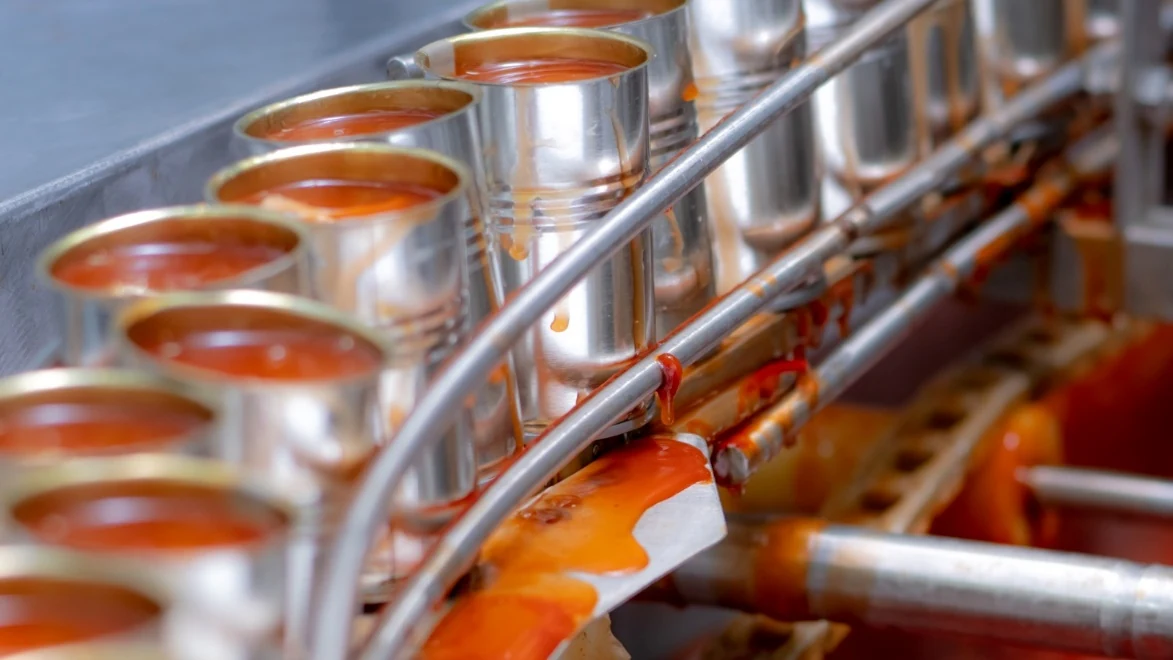
The filling step must control net weight, drained weight, solid-to-liquid ratio, and headspace. Headspace is the empty space between the product surface and the inside of the lid. Too much headspace can leave excess air in the can. Too little can cause expansion problems during heating.
7. Step 6: Exhausting the Can
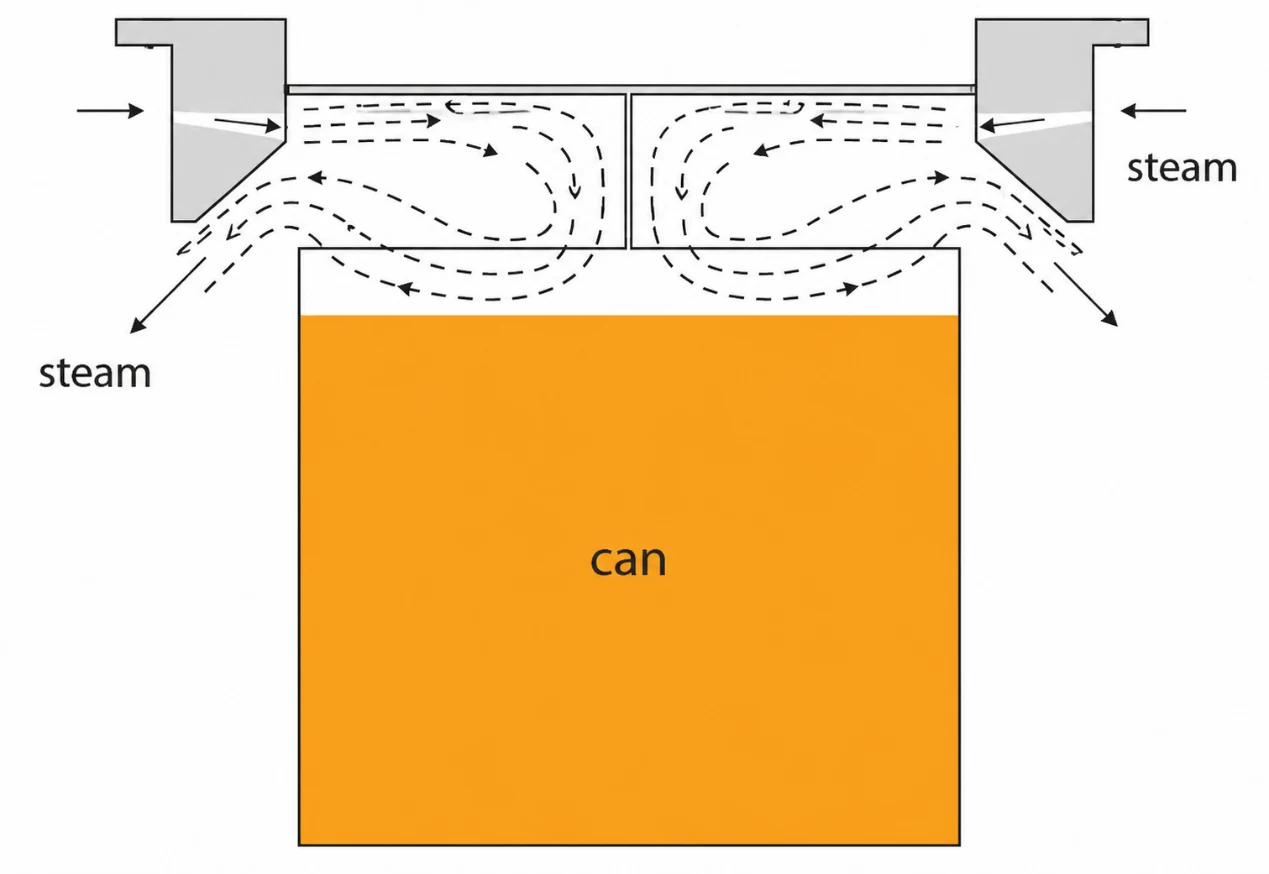
Before sealing, air needs to be removed.
Why remove air?
Because oxygen can drive oxidation, color loss, flavor damage, internal corrosion, and pressure changes during heating. Air inside the can can also reduce heat transfer performance and increase stress on the seam.
Industrial exhausting may use steam flow, hot filling, vacuum sealing, or mechanical vacuum systems. The method depends on the food, container, and line design.
A good exhaust step helps create a partial vacuum after cooling. It also makes the later heat process more stable.
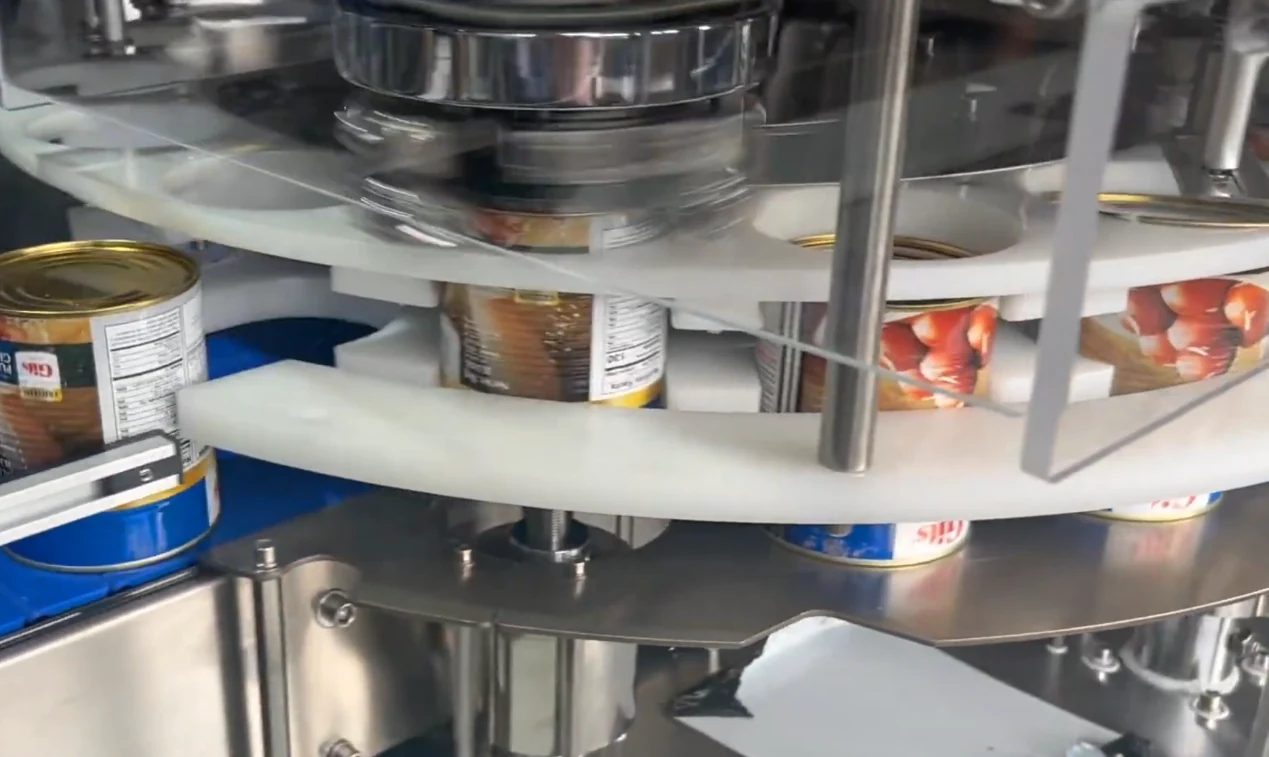
8. Step 7: Double Seaming
The can is sealed after exhausting.
Most food cans use a double seam. The can end and can body flange are mechanically rolled together to form a tight hermetic seal. The goal is simple: keep microorganisms out after processing.
This step is mechanical, but it is also a food safety control point.
A bad seam can lead to leakage. Leakage can allow recontamination. If that happens, the heat process no longer protects the product.
Plants usually check seam quality during production. They may measure seam width, overlap, tightness, countersink depth, body hook, cover hook, and visual defects. The exact inspection method depends on the plant and product risk.
The question is not “Did the lid go on?”
The question is:
Can this seam survive heating, cooling, transport, and storage without losing hermetic integrity?
9. Step 8: Thermal Processing in a Retort
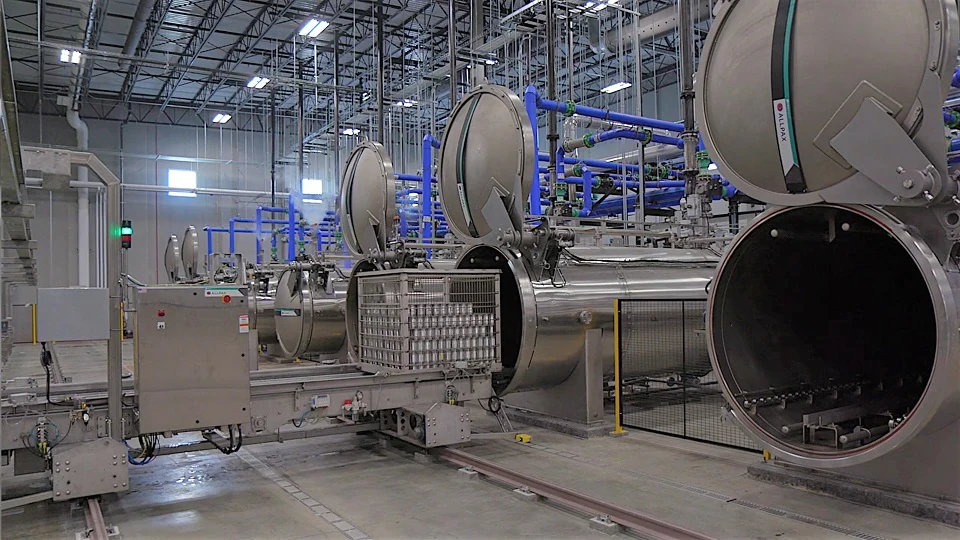
After sealing, the cans go into a retort or continuous cooker.
This is where the product receives its scheduled heat process. The time, temperature, pressure, and come-up conditions are designed around the food and container.
Several factors affect the process:
- product pH
- water activity
- can size
- fill weight
- headspace
- starting temperature
- product viscosity
- particle size
- heating pattern
- target microorganism
- retort type
High-acid products usually require less severe heat treatment than low-acid products. Low-acid products need higher process lethality because organisms such as Clostridium botulinum are a major safety concern in sealed, low-oxygen food environments.
This is why a fixed temperature-and-time claim is usually a bad sign. A real industrial process is validated for a specific product, recipe, container size, and equipment setup.
For regulated low-acid canned foods in the U.S., commercial processors must file scheduled processes for each product, product style, container size and type, and processing method.(Quelle)
10. Step 9: Cooling
After heat processing, the cans are cooled.
Cooling must be controlled. The goal is to stop cooking, reduce internal pressure, protect texture, and stabilize the container. Cooling too slowly can overcook the product. Cooling with poor-quality water can create contamination risks if the seam or container integrity is compromised.
As the can cools, steam inside condenses and a partial vacuum forms. This helps the finished can maintain its sealed condition.
Cooling is not an afterthought. It is part of the process.
11. Step 10: Drying, Coding, and Inspection
Once cooled, the cans are dried and inspected.
Typical checks include:
- seam condition
- leakage
- dents
- swelling
- vacuum level
- fill weight
- headspace
- coding accuracy
- label accuracy
- corrosion risk
- visual defects
Each can or batch is marked with a production code. This code allows traceability if a quality issue appears later. U.S. regulations require hermetically sealed containers of low-acid processed food to carry an identifying code that is permanently visible.(Quelle)
This is not paperwork for paperwork’s sake. Traceability matters when thousands of cans are produced in one shift.
12. Step 11: Incubation and Quality Testing
Some canned products go through incubation or holding tests before release. Samples may be stored at a set temperature for a set time to check for microbial growth, swelling, leakage, or other defects.
Quality testing may also include:
- pH
- salt level
- sugar level
- drained weight
- Nettogewicht
- texture
- Farbe
- odor
- seam teardown
- microbial testing
- sensory checks
The product is not finished when it leaves the retort. It is finished when it passes release criteria.
13. Step 12: Labeling, Packing, and Storage
Approved cans are labeled, packed into cartons, palletized, and moved into storage.
Storage should be clean and dry. Metal cans do not like moisture, rough handling, or severe temperature swings. Poor storage can lead to rust, label damage, dents, or secondary packaging failure.
A well-made can still needs reasonable handling.
14. The Full Industrial Canning Flow
Here is the process in one line:
Receiving → washing → sorting → preparation → blanching or pre-cooking → can preparation → filling → liquid addition → exhausting → double seaming → retorting → cooling → inspection → coding → labeling → packing → storage.
That is the standard path for food in metal cans.
The process changes by product, but the logic stays the same. A can of peaches, a can of beans, and a can of tuna do not use identical parameters. They do share the same engineering idea: control the food, control the container, control the heat process, and verify the result.
15. Final Note
Industrial canning is not hard to understand, but it is easy to oversimplify.
The can must be filled correctly. The air must be removed. The double seam must hold. The retort process must match the product. Cooling must be controlled. Inspection must catch defects before the product leaves the plant.
That is how food is canned in metal cans.
Not by one machine.
By a chain of controlled steps that all have to work together.