

A two-piece food can is formed from one metal body and one separate can end. The body includes the side wall and the bottom. It is drawn from a single piece of metal sheet. The can end is attached later, after the food has been filled.
This is different from a three-piece can. A three-piece can has a side seam. A two-piece can does not. That removes one possible leakage point and also changes the way the body is formed.
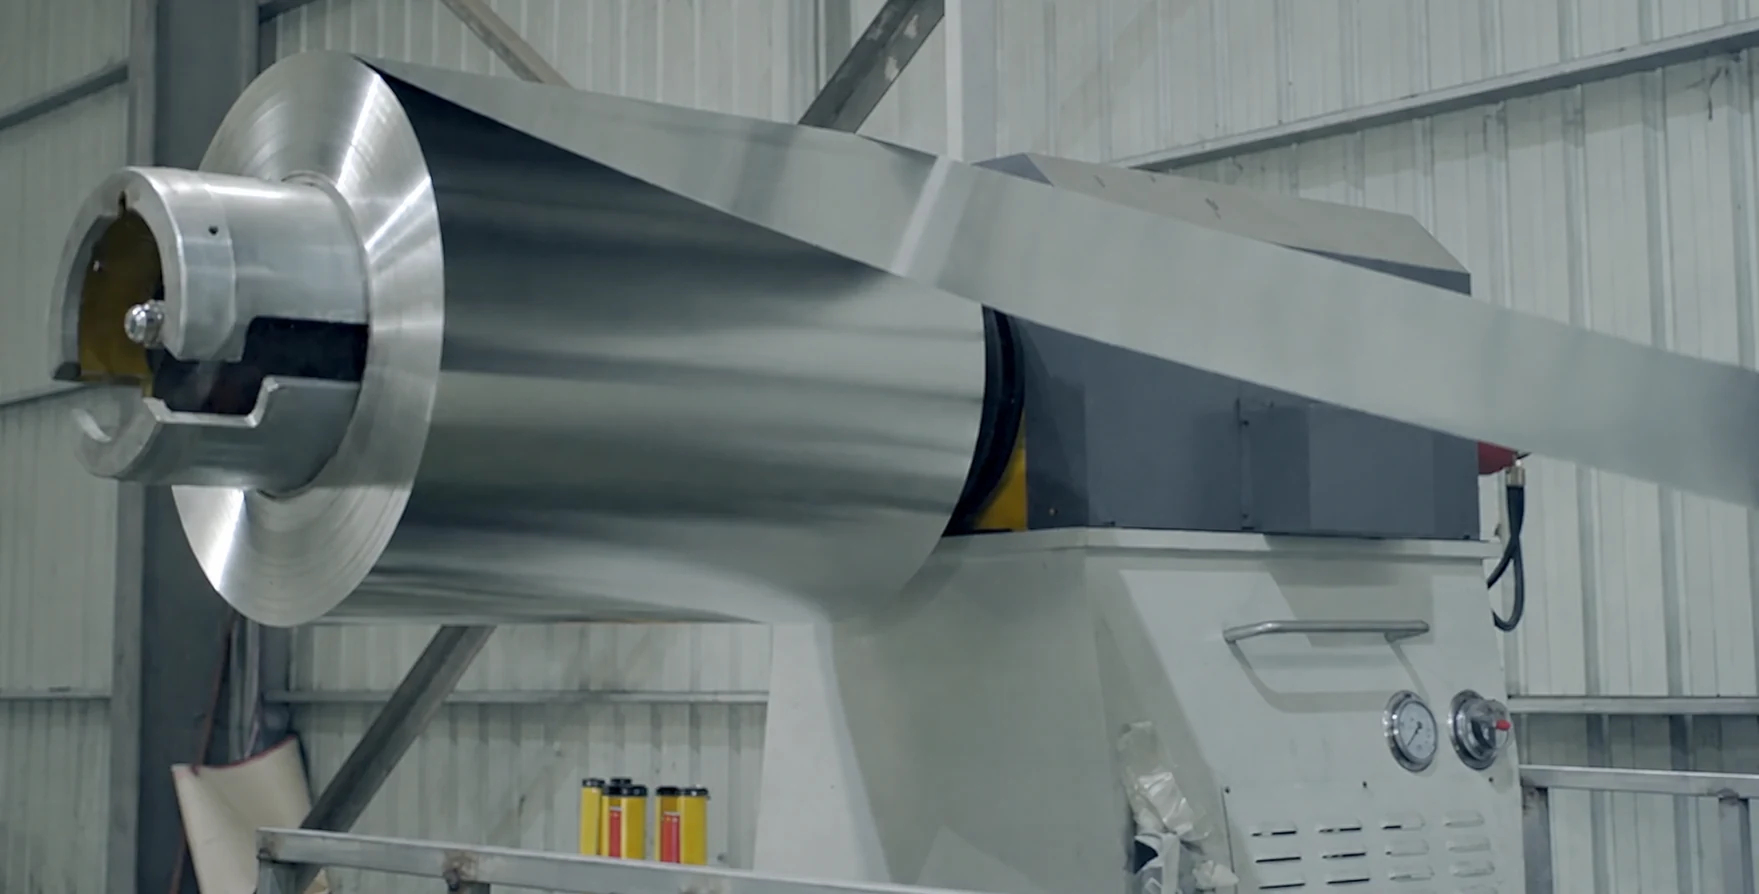
1. Raw Material Preparation: Metal Coil Selection
The process starts with metal coil. Common materials include tinplate, tin-free steel, and aluminum. For food cans, the material must be suitable for food contact and later sterilization.
The coil is selected based on several basic requirements:
- thickness
- temper or hardness
- surface quality
- coating performance
- forming stability
These details matter because the metal will be drawn, stretched, flanged, trimmed, coated, printed, and sealed. If the sheet is not stable enough, problems will show up later in forming or sealing.
2. 2 Piece Can Manufacturing Process
There are two main manufacturing routes for two-piece food cans:
- DR cans
- DWI cans
DR stands for drawn can. It can be made by single drawing or by draw and redraw. A single drawn can is usually a shallow drawn can. A draw-redraw can, often called a DRD can, can reach a greater height.
DWI stands for drawn and wall ironed. In this process, the can body is first drawn into a cup, then ironed through several rings. The wall becomes thinner, and the can becomes taller.
The choice depends on the can shape, height, capacity, material, coating method, and final application. For smaller cans and shaped containers, DRD is often used. For higher-volume straight-wall cans, DWI is a common route.
2.1 DR Can Manufacturing Process
DR cans are formed mainly by drawing the metal sheet into the required can body shape. The process is usually used for shallow cans or shaped cans where wall ironing is not required.
Shallow Drawn Cans Process
Sheet Preparation
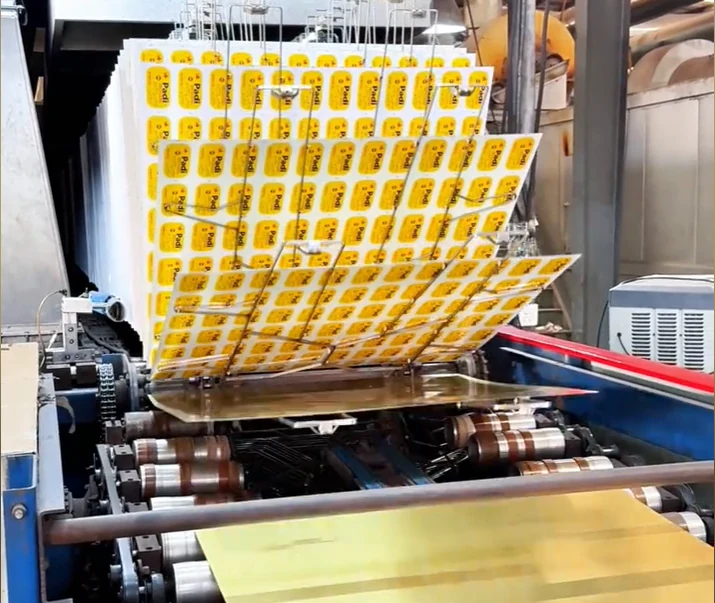
The sheet can be pre-coated or pre-printed before forming.
The coil is unwound, leveled, trimmed, cleaned, degreased, rinsed, chemically treated, and dried. After this preparation, the sheet can go through coating or printing.
For coating, at least one coating layer is applied to the inside surface and one to the outside surface. The coating is dried and baked at high temperature.
For printing, ink is transferred onto each sheet. A clear varnish is then applied to protect the printed surface. The sheet is baked again until the ink and coating are fully cured. A white base coat can also be used when needed.
Printing for DR cans needs special attention. During drawing, the can wall is stretched in the vertical direction and compressed around the circumference. This can distort the printed image. To solve that, the artwork may need distortion printing. The image is pre-distorted in the opposite direction so it appears correct after forming.
Blanking
After coating or printing, the sheet is positioned and fed into the press. Automatic locating, servo feeding, and robotic transfer can be used before the sheet enters the die.
The press cuts the sheet into round blanks or specially shaped blanks. These blanks are the starting pieces for drawing.
Dessin
The blank is drawn into a can body.
For a shallow drawn can, one drawing operation is enough. The main forming step is usually completed in one compound die. The blank is pressed into the die cavity and becomes a shallow cup-shaped body.
Bottom Forming and Flanging
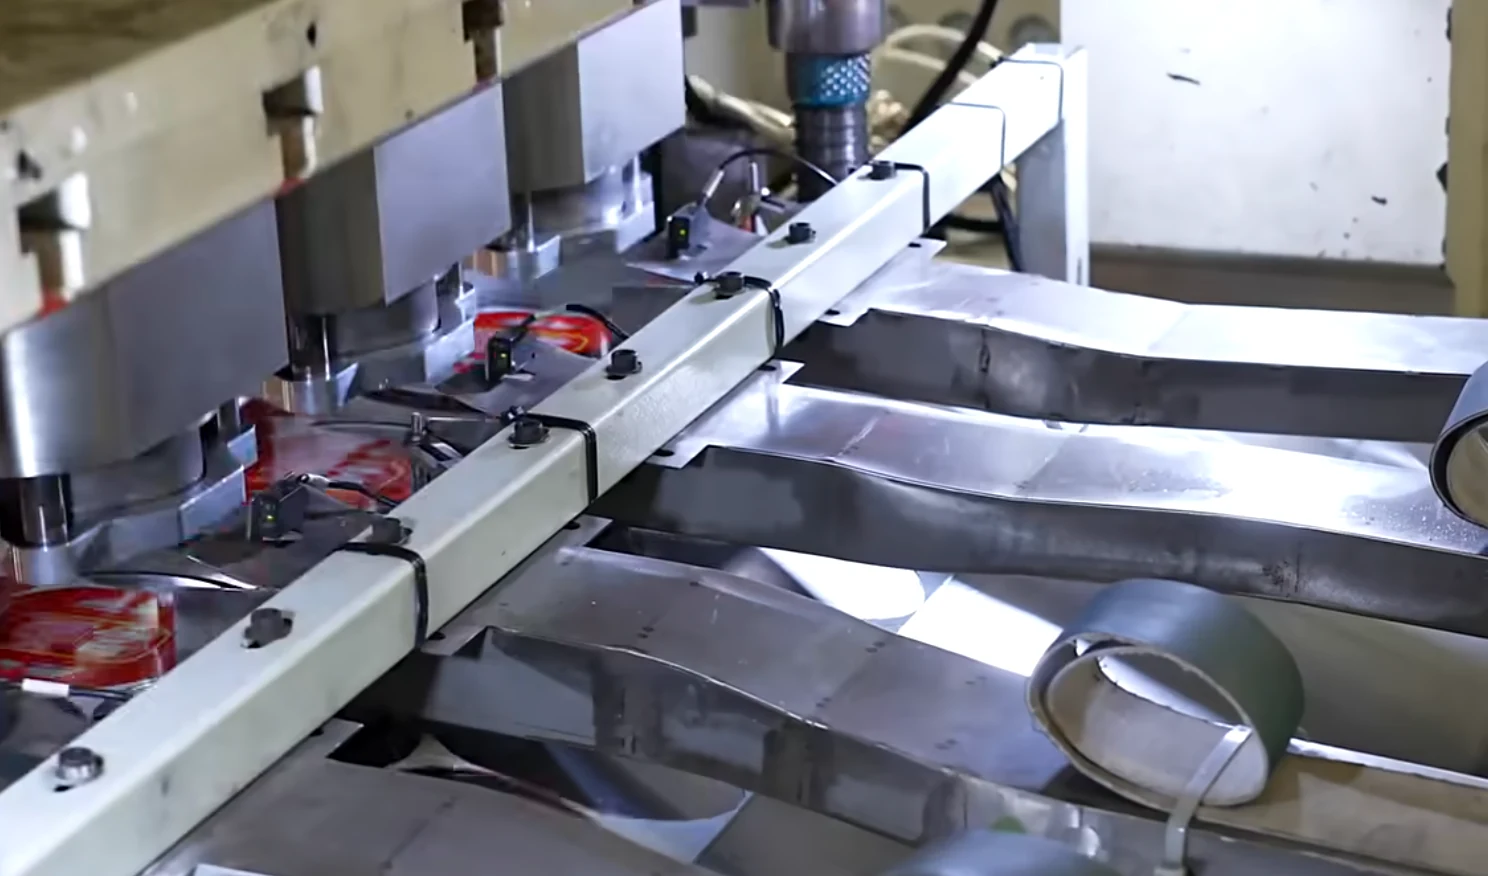
After the body is drawn, the bottom is formed into a specific profile. This improves pressure resistance and helps the can handle stacking and sterilization conditions.
Flanging is also done before sealing. The open edge of the can body is turned outward to a set angle and width. This flanged edge later becomes the body hook during double seaming with the can end.
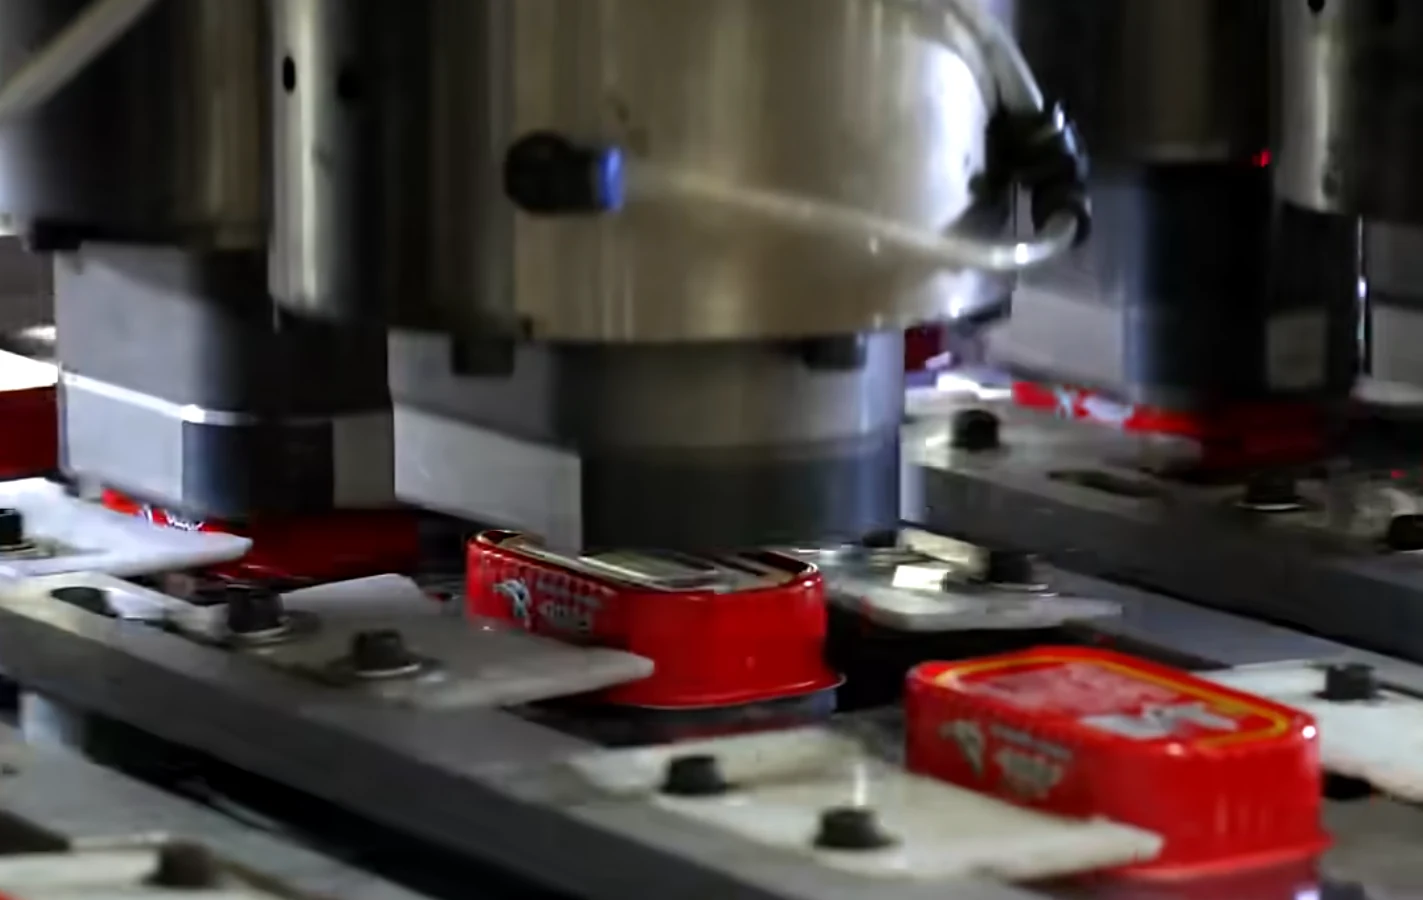
Trimming
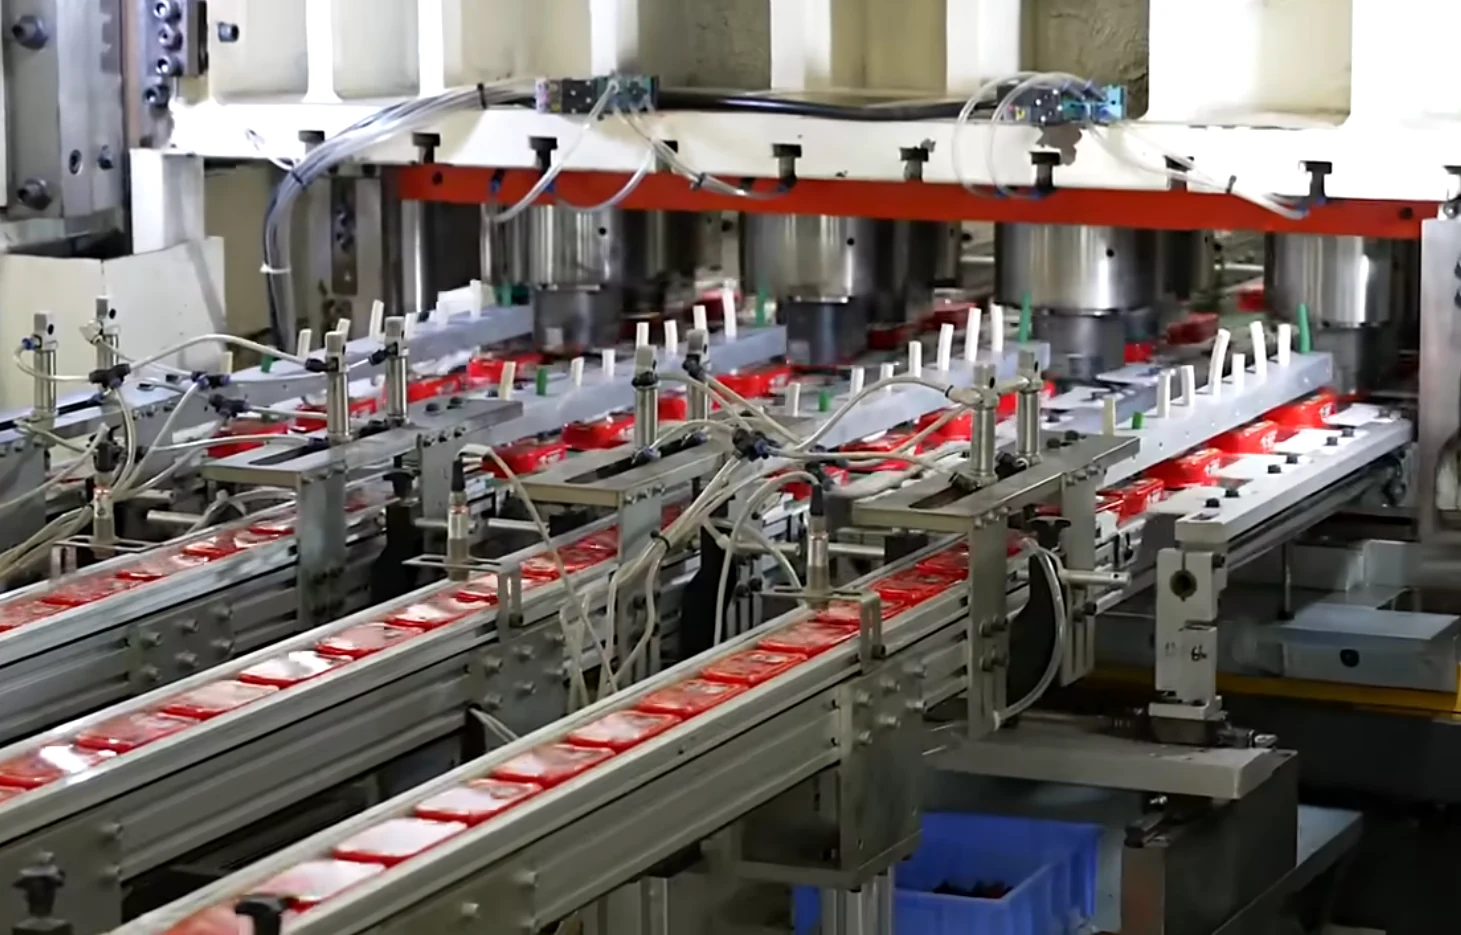
After flanging, the extra edge material is trimmed. This keeps the flange size stable.
This step is not just for appearance. If the flange dimension is not controlled, the final double seam may not seal correctly.
Inspection
The can body is inspected before packing.
Typical inspection points include:
- can height
- can diameter
- flange width
- mouth roundness
- scratches
- dents
- coating defects
- contamination
- coating adhesion
- coating coverage
- pinhole risk
- flange quality
- can end size
- sealing compound condition
- pressure strength
- stacking performance
- sterilization suitability
The point is simple: forming accuracy and coating integrity must be checked before the can reaches the filling line.
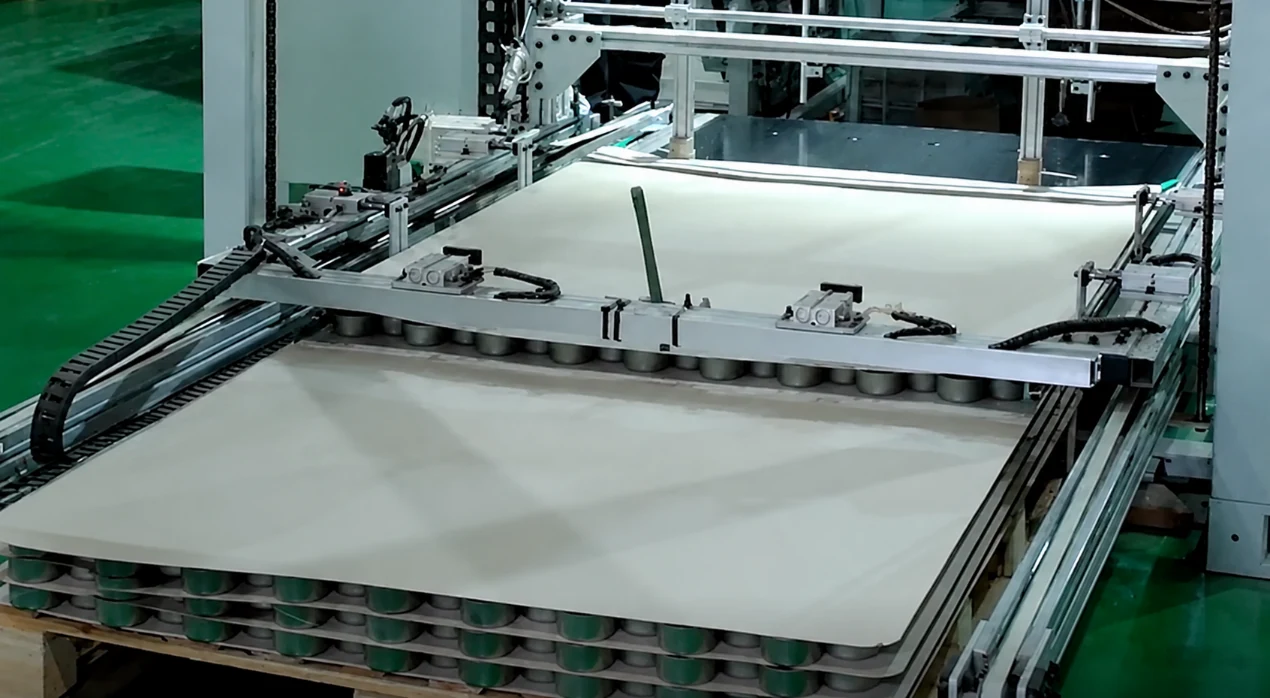
Packing
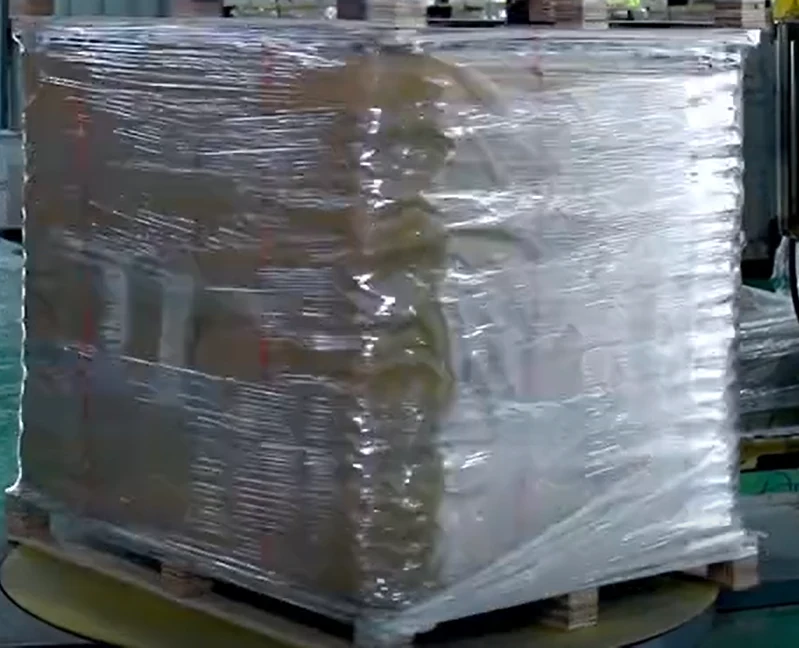
After inspection, the can bodies are stacked, packed, and protected from dust. The can ends are packed separately.
Both parts are then sent to the food filling plant. After the food is filled, the can end is attached to the body by double seaming. That is the final sealing step.
DRD Process: Draw and Redraw
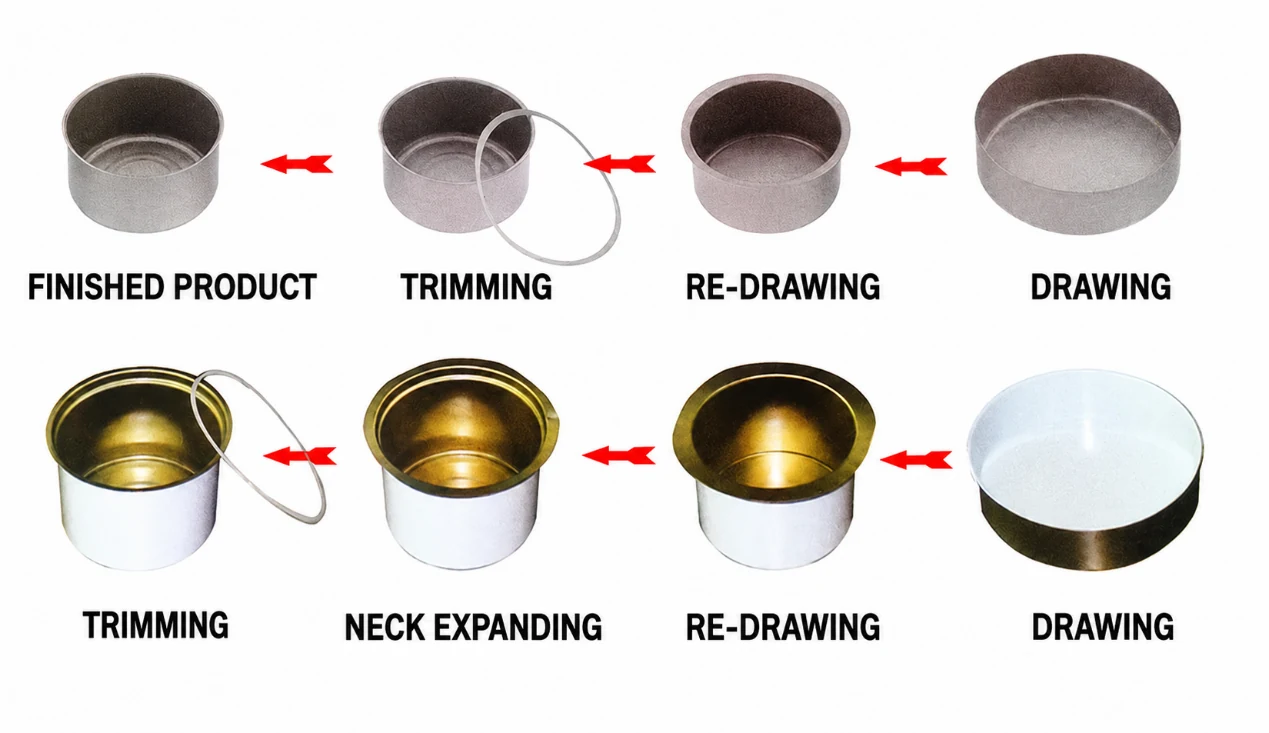
DRD cans are also widely used for food packaging. They can be made from aluminum or tinplate. In typical DRD can design, the ratio between the maximum diameter and the can height is usually around 1:1. This is closely related to the drawing limit of the material and the forming stability required during production.
When a deeper body is needed, one draw is not enough. The metal must be formed in several steps.
The DRD process follows this sequence:
sheet preparation → blanking → first drawing → redraw one or more times → bottom forming and flanging → trimming → inspection → packing
The blanking and first drawing are usually completed in a compound die. At this stage, the result is a shallow cup-shaped intermediate body.
The intermediate body then goes through one or more redraw steps. Each redraw reduces the diameter and increases the height until the required can body size is reached.
In many lines, redraw, bottom forming, and flanging are completed on a multi-station press. The can body moves step by step through each station.
There is one uncommon case worth noting. If the drawing height-to-diameter ratio is greater than 1, the deformation becomes much larger. This does not happen in most standard DRD food cans, but it may occur in some special designs. When it does, pre-coated or pre-printed layers may not withstand the forming stress. In that case, the can body is usually formed first, then the full internal coating and outside body printing are applied afterward.
2.2 DWI Process: Drawn and Wall Ironed
DWI cans are made by drawing the sheet into a cup and then thinning the wall through ironing rings. The wall becomes thinner, and the body becomes taller.
This process is often used when a straight-wall can body is needed.
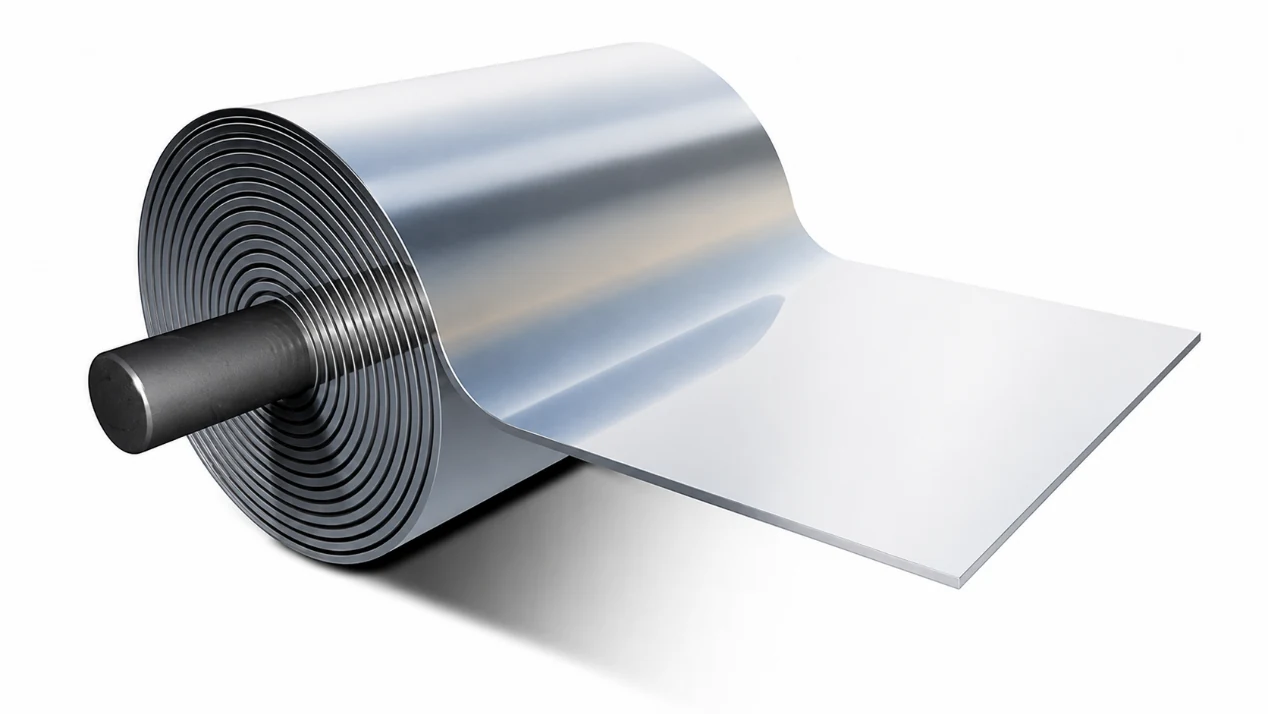
Coil Unwinding
The process starts with coil unwinding. Tinplate is a common material for this route.
Lubrication
A lubricant is applied to the metal. This reduces friction during drawing and ironing. Without enough lubrication, the metal surface can be damaged and the forming process becomes unstable.
Blanking and First Drawing
After lubrication, the sheet is cut and fed continuously into the press.
The press forms shallow cups at high speed. These cups are the starting shape for later redraw and wall ironing.

Redrawing
The cup is redrawn to reduce its diameter. This brings the body closer to the designed inner diameter of the final can.
Wall Ironing
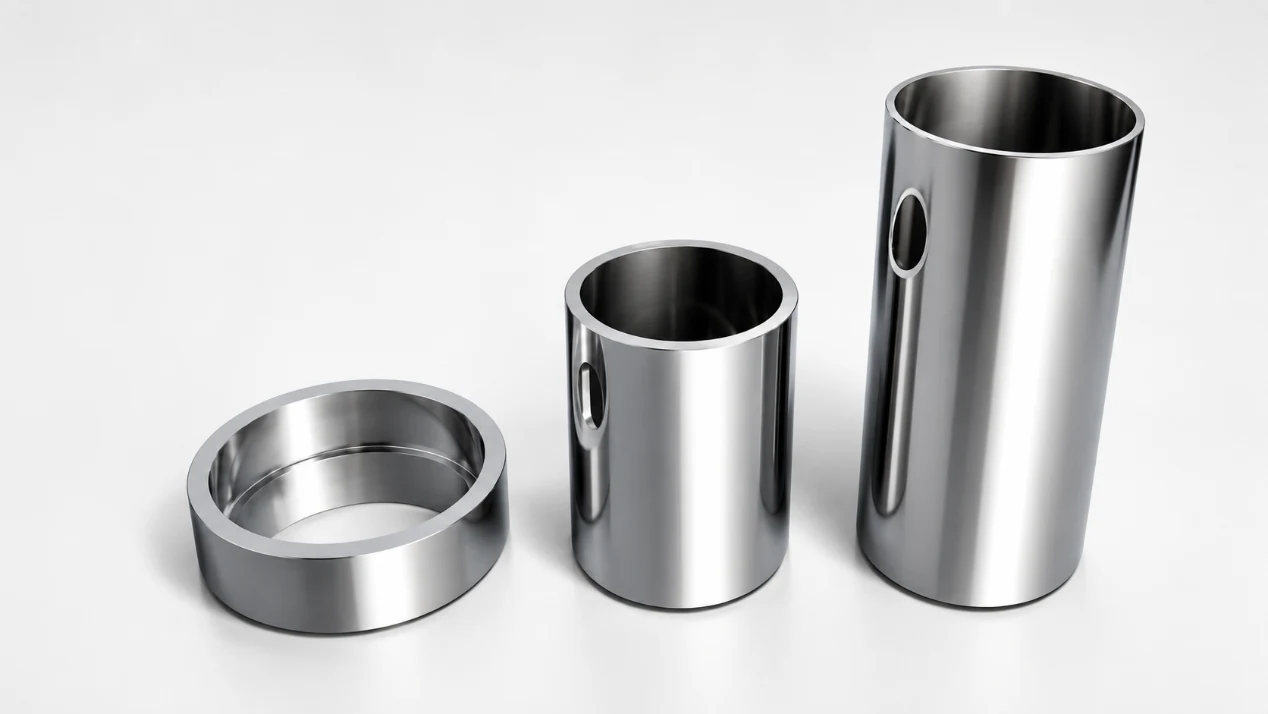
The redrawn cup then passes through a series of tungsten carbide ironing rings.
Each ring squeezes the wall. The diameter becomes smaller, the wall becomes thinner, and the can becomes taller. This is the main difference between DWI and DRD.
The bottom thickness is mostly retained, while the side wall is reduced. That gives the can enough height without using more material than needed.
Bottom Forming
The bottom is then shaped into the required profile. This improves strength and pressure resistance.
Trimming
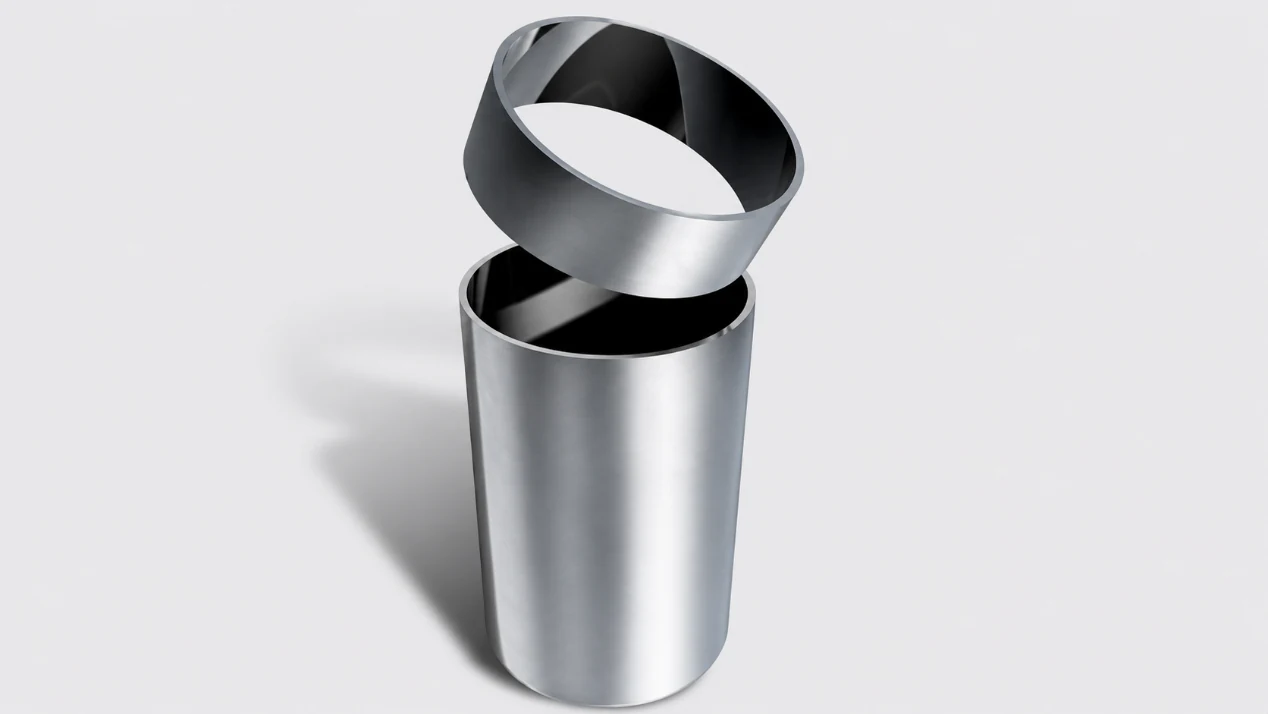
The can body is trimmed to the specified height. This gives the open end a controlled and even edge.
Lavage
After trimming, the remaining scrap is recycled. The can body is washed and dried to remove lubricant residue.
This cleaning step prepares the surface for coating and printing. If lubricant remains on the surface, coating adhesion can be affected.
Outside Coating and Printing
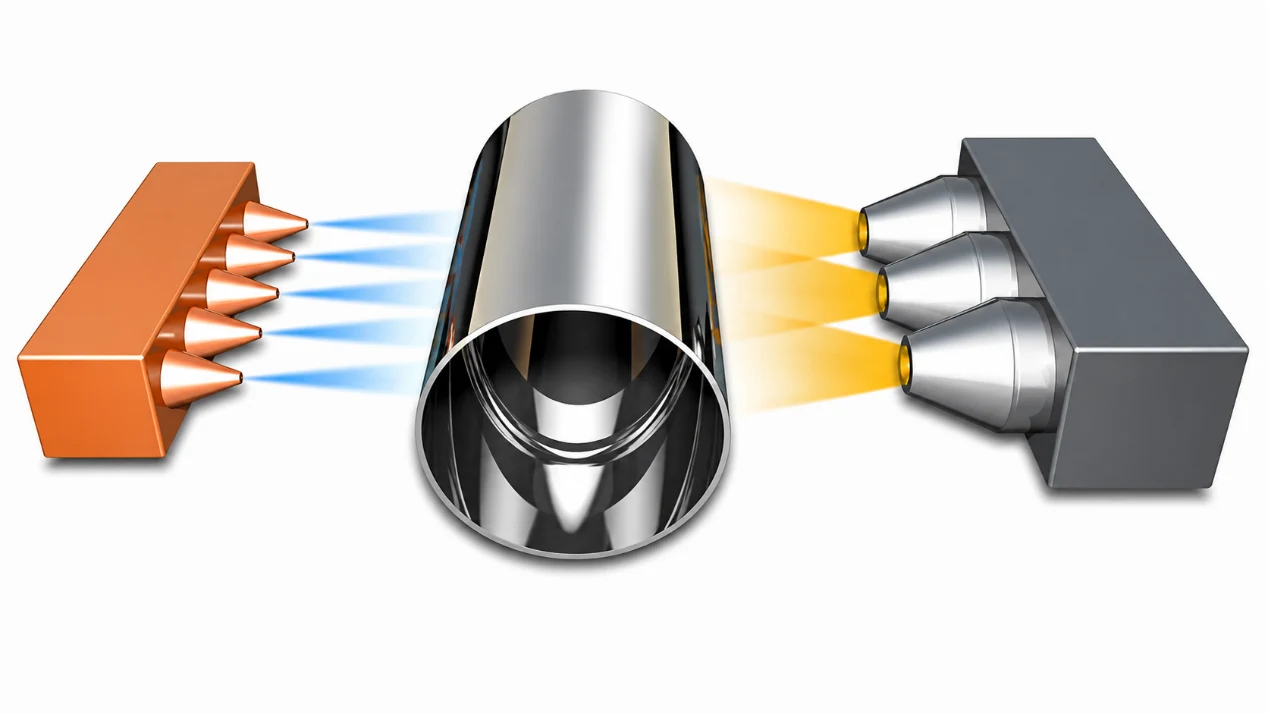
The outside surface receives a clear coating to protect it from corrosion. The can body is then dried in an oven.
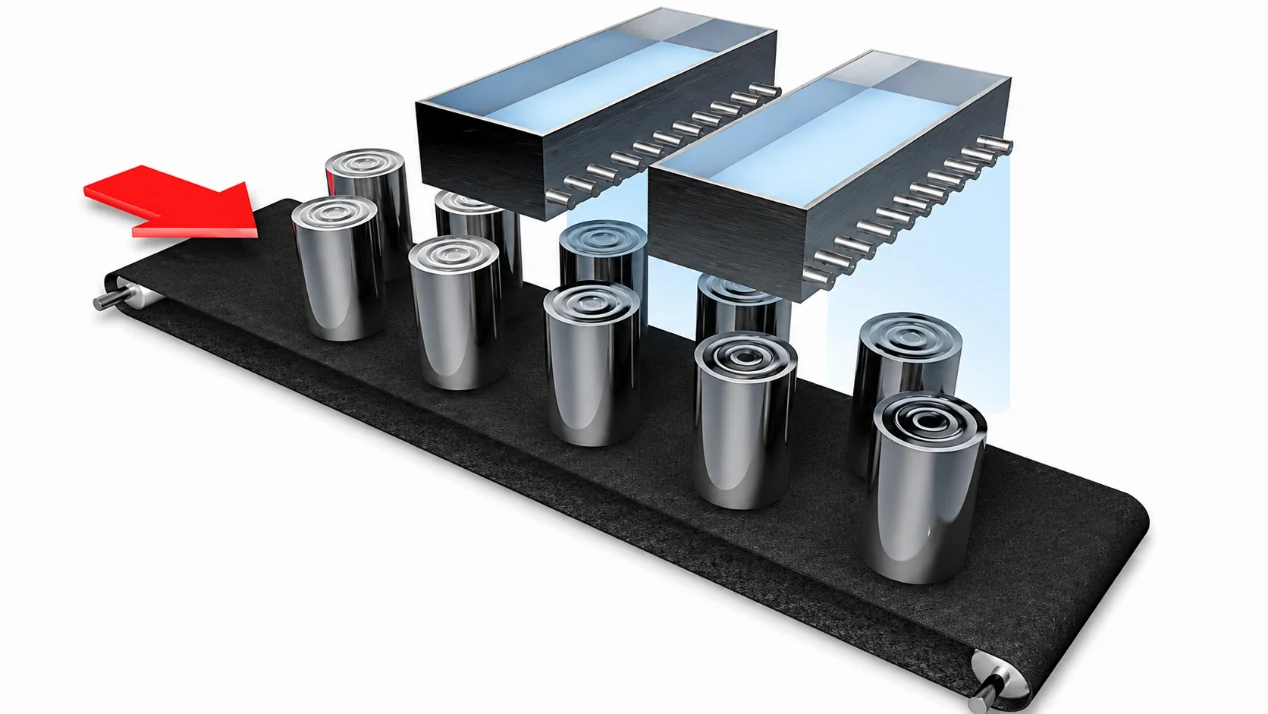
After that, the printing machine applies ink to the can body. A white base coat can also be used depending on the design.
(Necking)
Most two-piece food cans are straight cans or only slightly necked. Because of that, necking is often skipped in two-piece food can production.
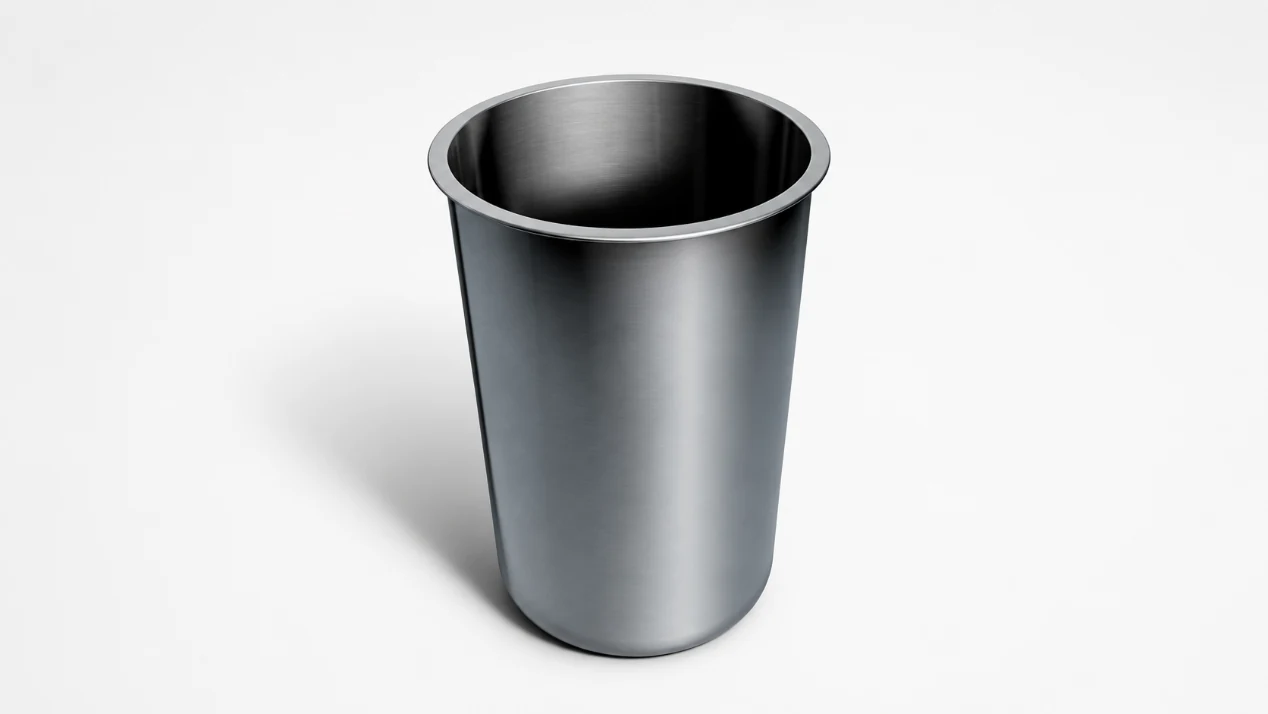
Flanging
The top edge of the can body is flanged outward. This prepares the body for double seaming after filling.
The flange must match the can end and the seaming requirements. If the flange is not stable, the seam will not be stable either.
Beading
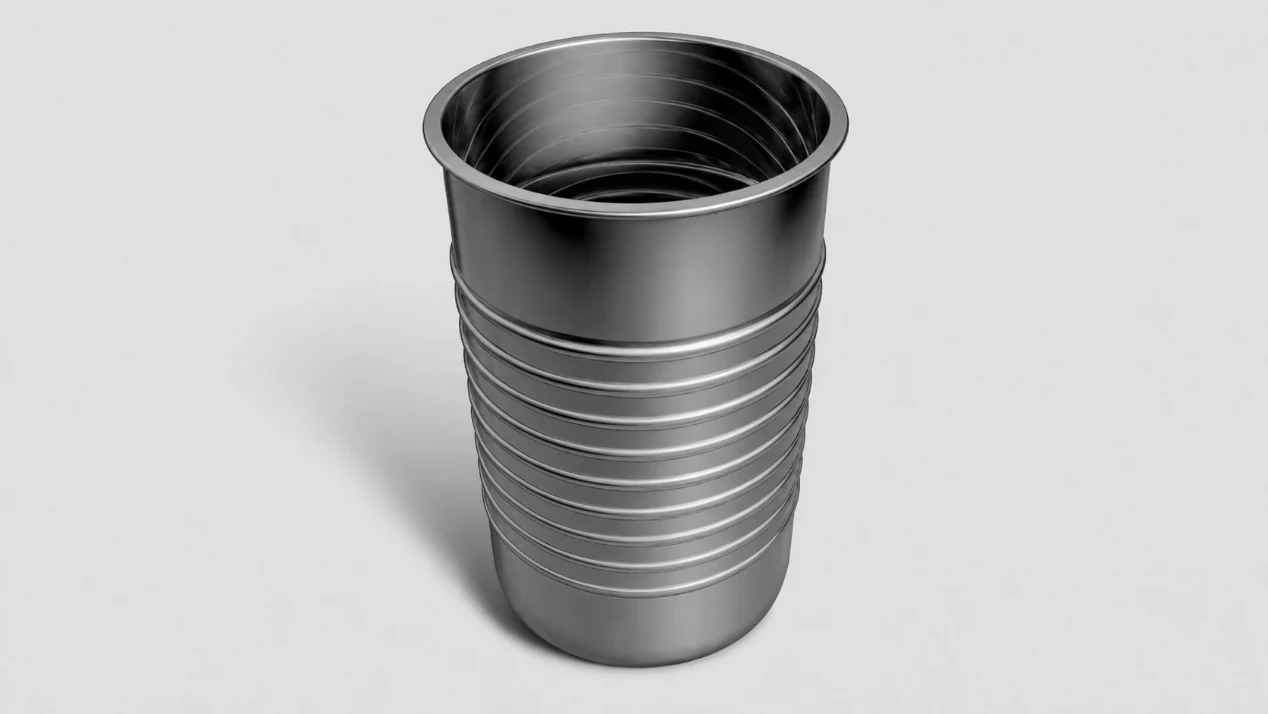
The can body then goes through a beading machine. Raised bead patterns are formed on the wall.
These beads increase body strength and help the can resist deformation during handling, stacking, filling, and sterilization.
Inspection
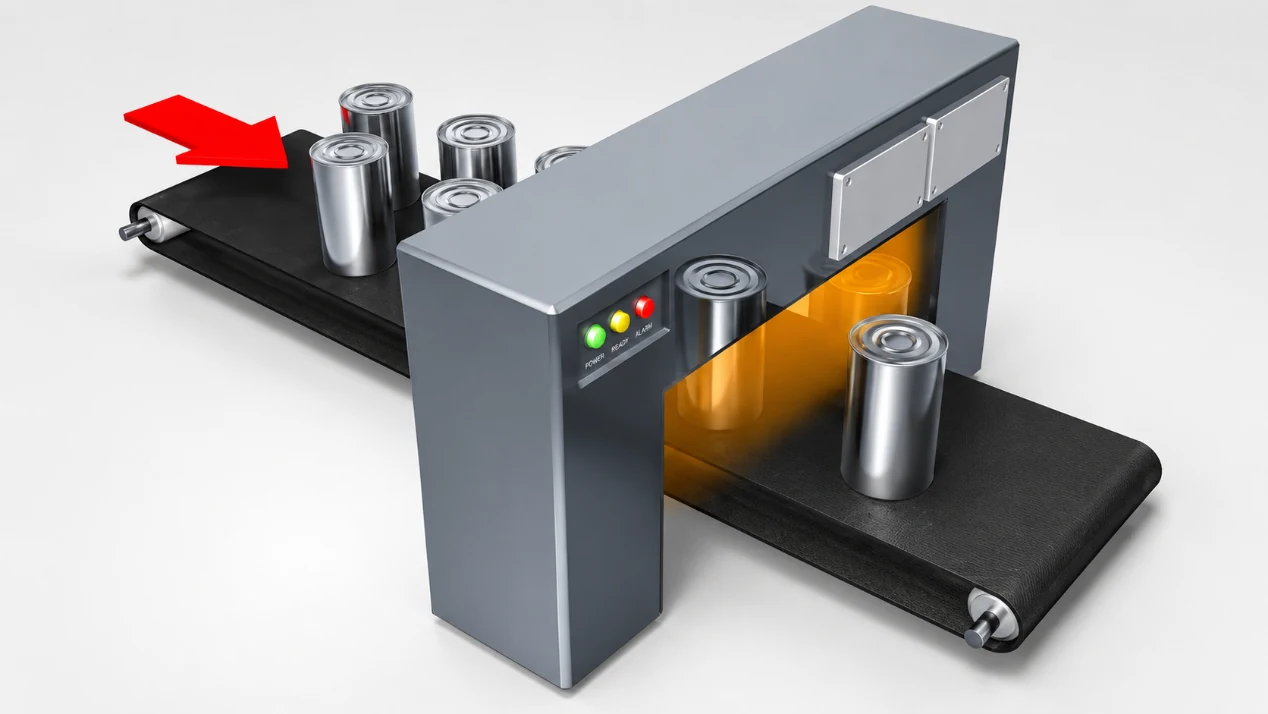
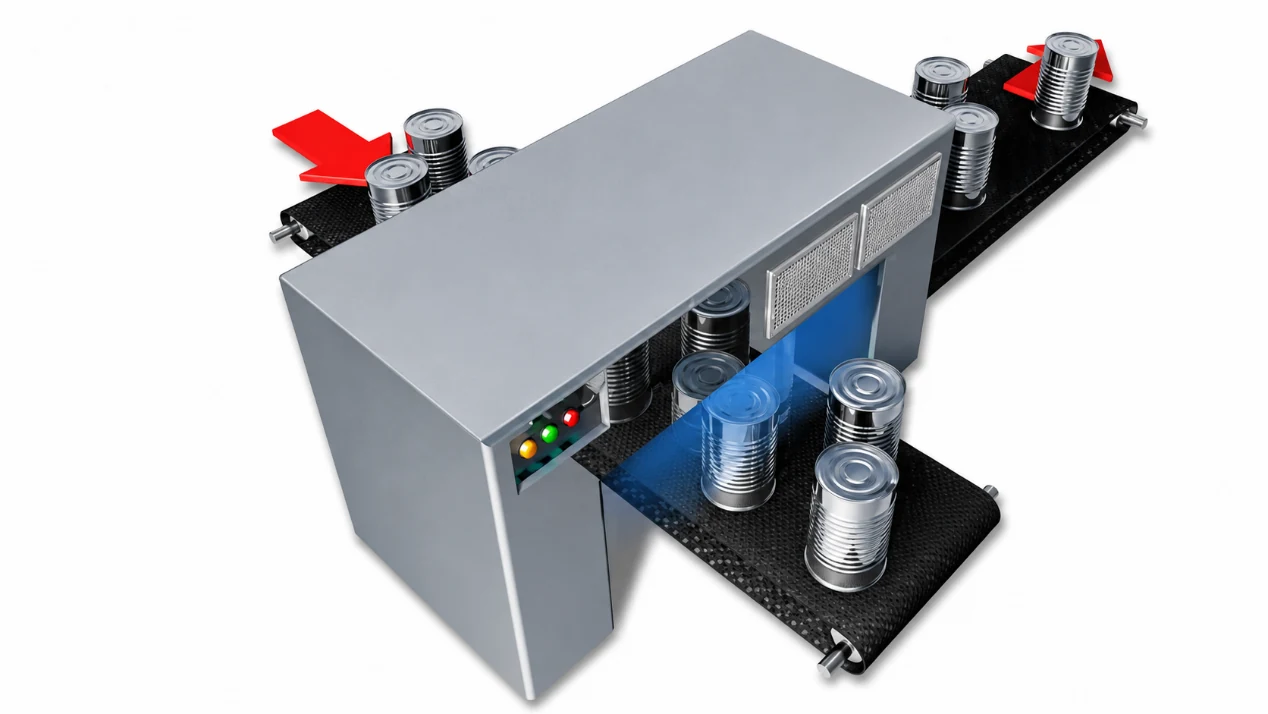
Inspection happens throughout the production line. At the final stage, the can body is also checked by light inspection equipment. Defective cans are automatically rejected.
This inspection helps catch holes, cracks, forming defects, and other issues that may affect sealing or food safety.
Revêtement intérieur
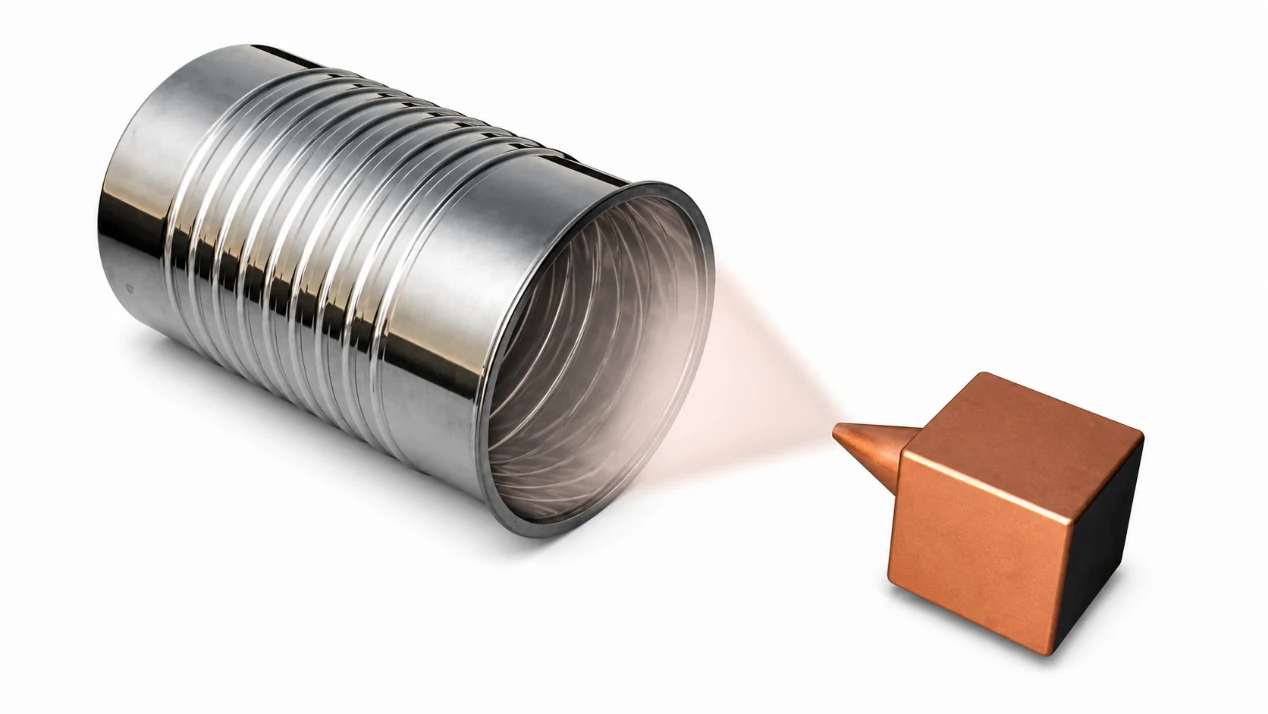
The inside of the can body is sprayed with a protective coating. The can then goes through an oven to dry and cure the coating.
This internal coating separates the food from the metal surface and helps protect the can during storage.

Packing
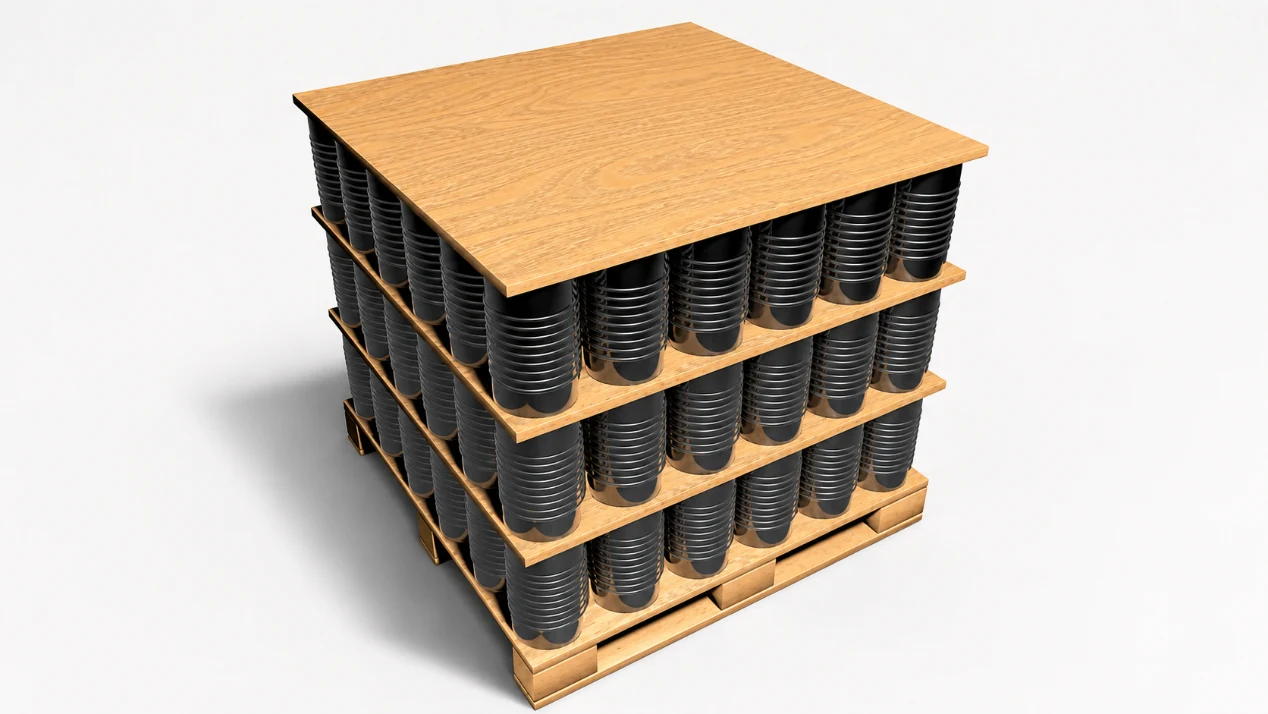
Finished can bodies are sent to storage, palletized, and shipped to the filling plant.
At the filling plant, food is filled into the body. The can end is then attached by double seaming. Only after this step does the two-piece food can become a sealed package.
3. Conclusion
The manufacturing route for a two-piece food can depends on the can shape, height, material, and forming requirements. Shallow drawn cans use a simpler drawing process. DRD cans rely on repeated redrawing to reach deeper shapes. DWI cans use wall ironing to make taller, thinner-wall bodies.
In all cases, the key is controlled forming, stable coating performance, accurate flanging, and reliable inspection. These steps decide whether the can body can be sealed safely after filling.