
A three-piece food can is built from three main parts: the can body, the top end, and the bottom end. The body is made from a flat metal sheet, formed into a cylinder, welded along the side seam, and then finished with coating, shaping, seaming, inspection, and packaging.
The process looks simple from the outside. In production, each step has a clear purpose. If one step is unstable, the can may lose strength, sealing performance, or corrosion resistance.
1. Raw Material Preparation
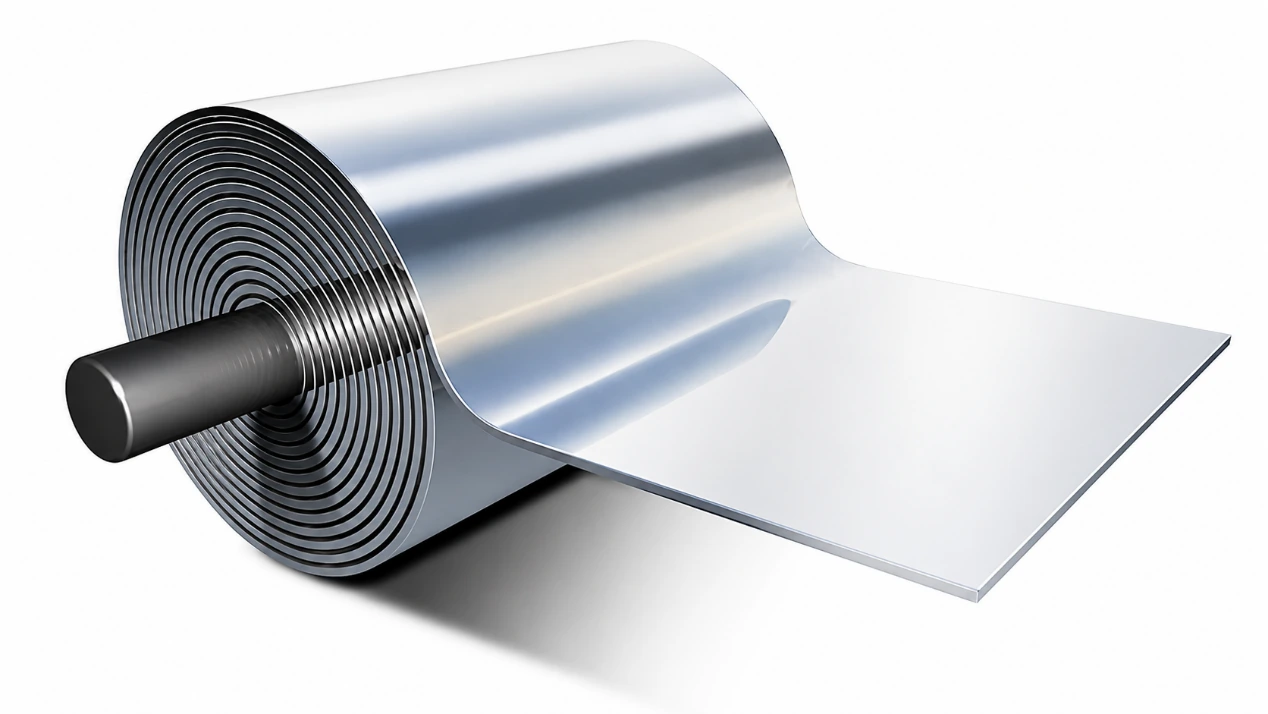
The process usually starts with tinplate or tin-free steel sheets or coils.
The material must meet the requirements for food packaging. That means the metal surface, thickness, coating compatibility, and forming performance all need to be controlled before production starts.
At this stage, the goal is straightforward: use material that can be formed, welded, coated, and sealed without creating risks for later filling and sterilization.
2. Sheet Cutting / Slitting
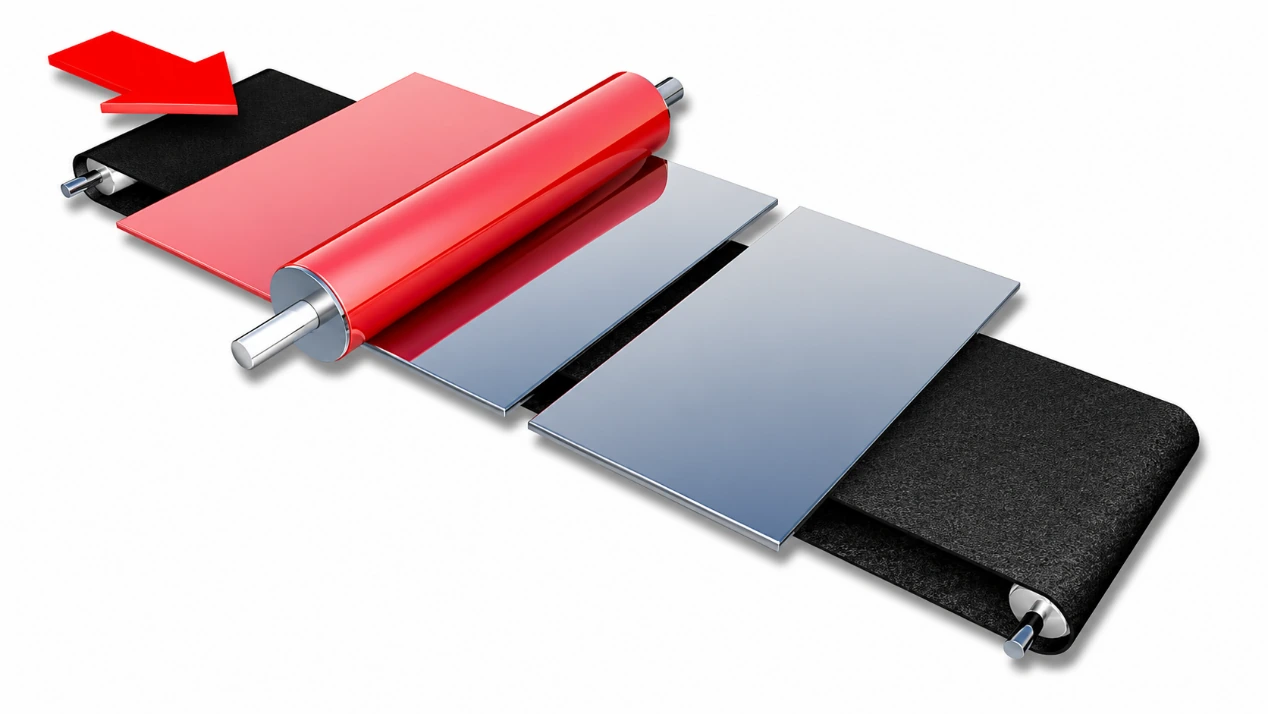
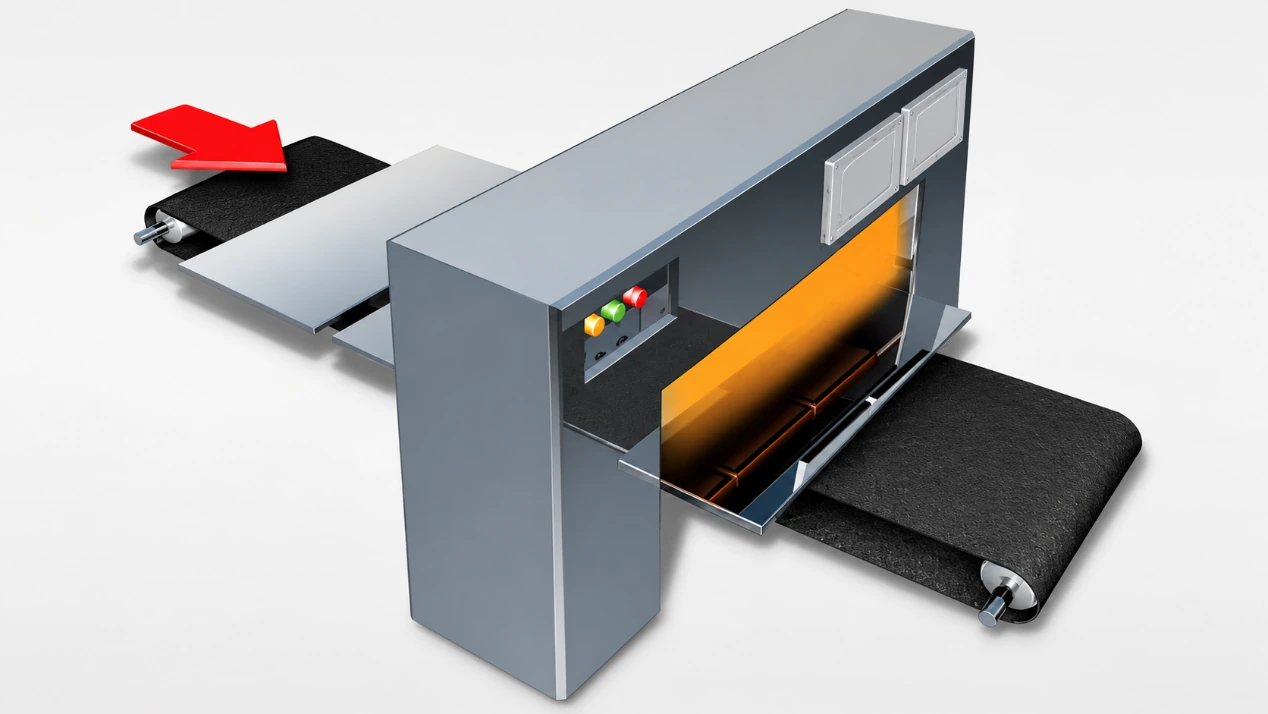
The steel coil is first cut into larger sheets. The side that will become the inner surface of the finished can is coated with a protective layer.
Why is this coating needed? Because the food inside the can should not react directly with the metal. The coating helps protect the can body from corrosion and helps separate the product from the steel surface.
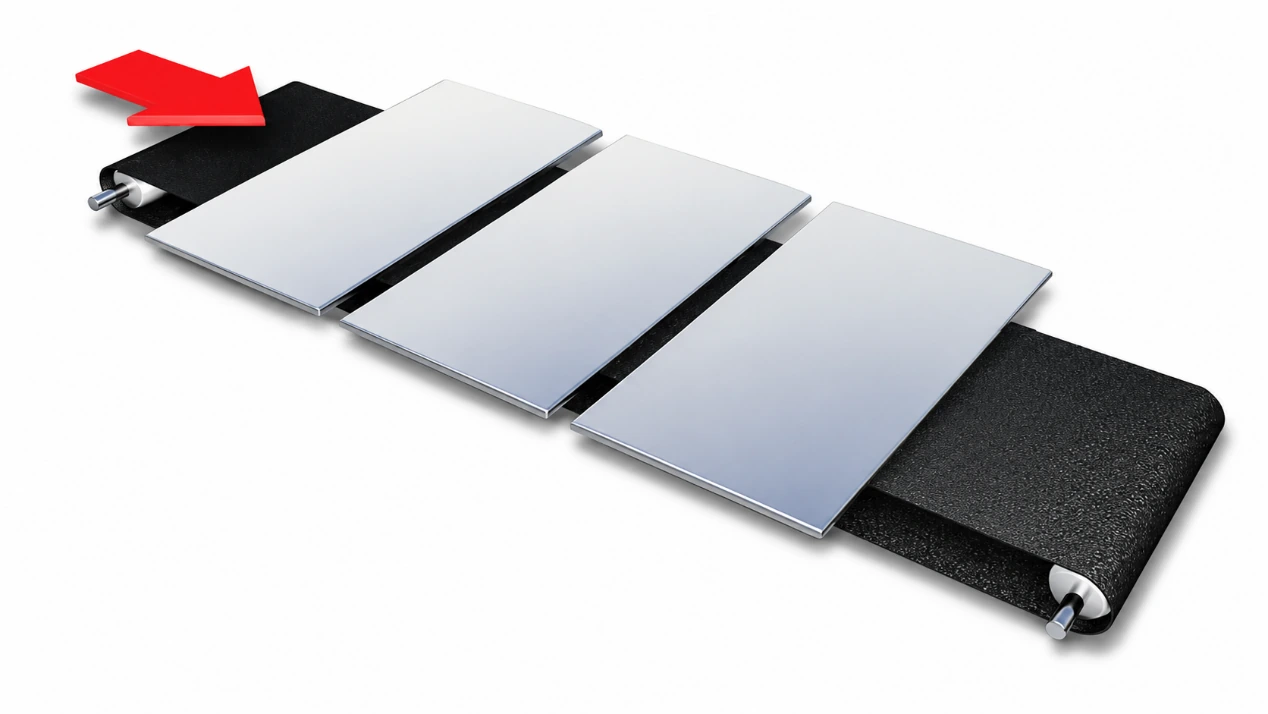
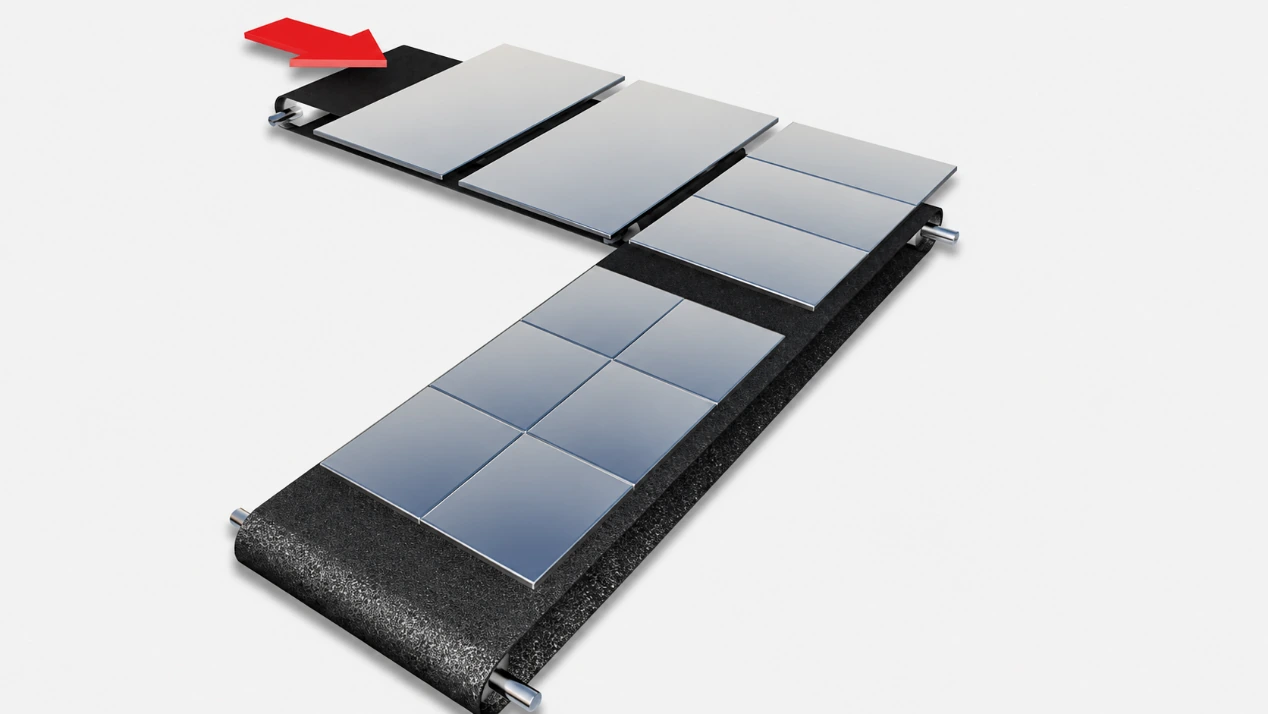
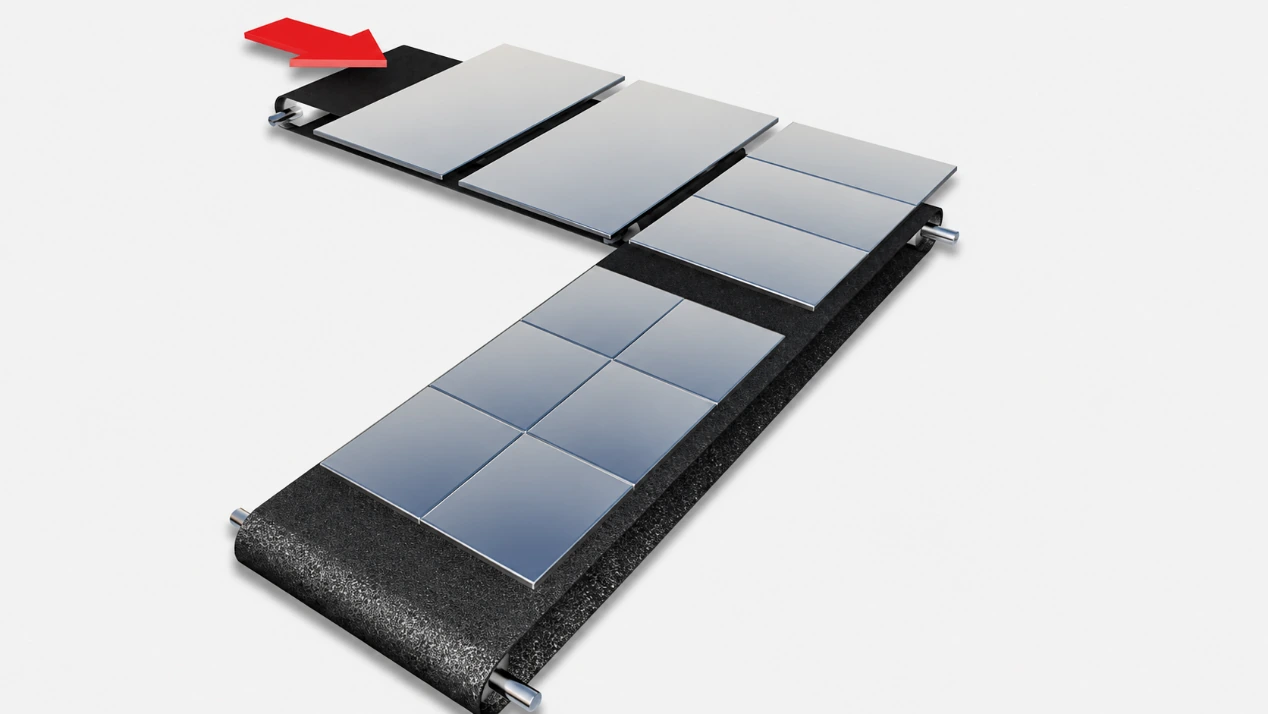
After coating, the sheets are dried in an oven. They are then cut into smaller blanks. Each blank will later become one can body.
If printed decoration is required, patterns can be printed on the sheet according to the customer’s design. A varnish layer is then applied over the decorated surface. A second internal protective coating may also be applied and cured on the sheet.
3. Body Blank Feeding
The cut blanks are automatically fed into the body forming machine.
Before forming, each blank must be aligned accurately. This sounds like a small detail, but it affects the whole line. Poor feeding can cause forming errors, unstable overlap, or welding issues.
Stable feeding keeps the line running continuously, especially in high-speed production.
4. Body Forming / Rounding
The flat rectangular blank is rolled into a cylindrical shape.
During rounding, the two side edges of the blank slightly overlap. This overlap creates the basic can body shape before welding.
At this point, the can body is not sealed yet. It is only a formed cylinder waiting for the side seam to be welded.
5. Side Seam Welding
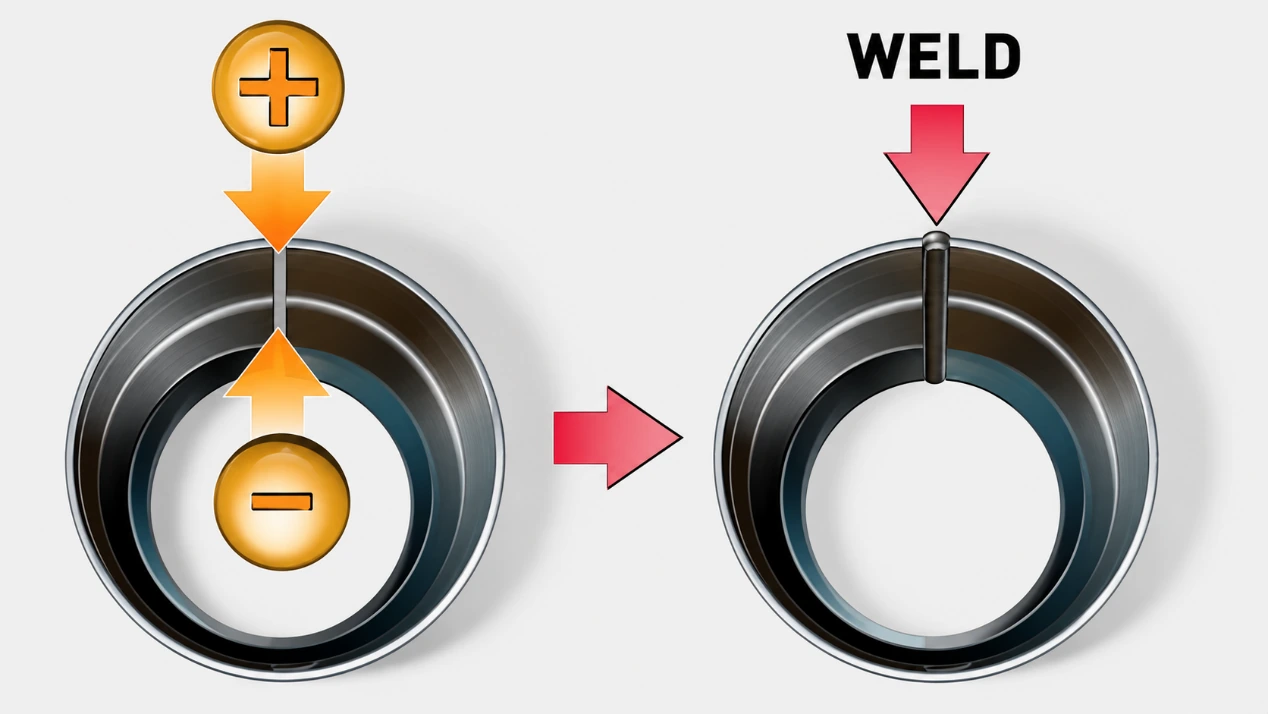
The overlapped side edges are joined by resistance welding.
This creates the vertical side seam of the can body. The seam must be strong and tight because it becomes part of the final food package.
Modern can welding uses copper wire as an intermediate electrode. This helps form a clean and sealed weld without solder. Solder was removed from food can production decades ago for health-related reasons.
The result of this step is a welded cylindrical can body.
6. Weld Seam Coating
After welding, the seam area contains exposed metal.
This exposed area must be protected. A protective coating is applied to the inside, outside, or both sides of the welded seam.
This step is often called side stripe coating or weld seam protection. Its job is simple: cover the welded area so the seam is not left vulnerable to corrosion or product contact.
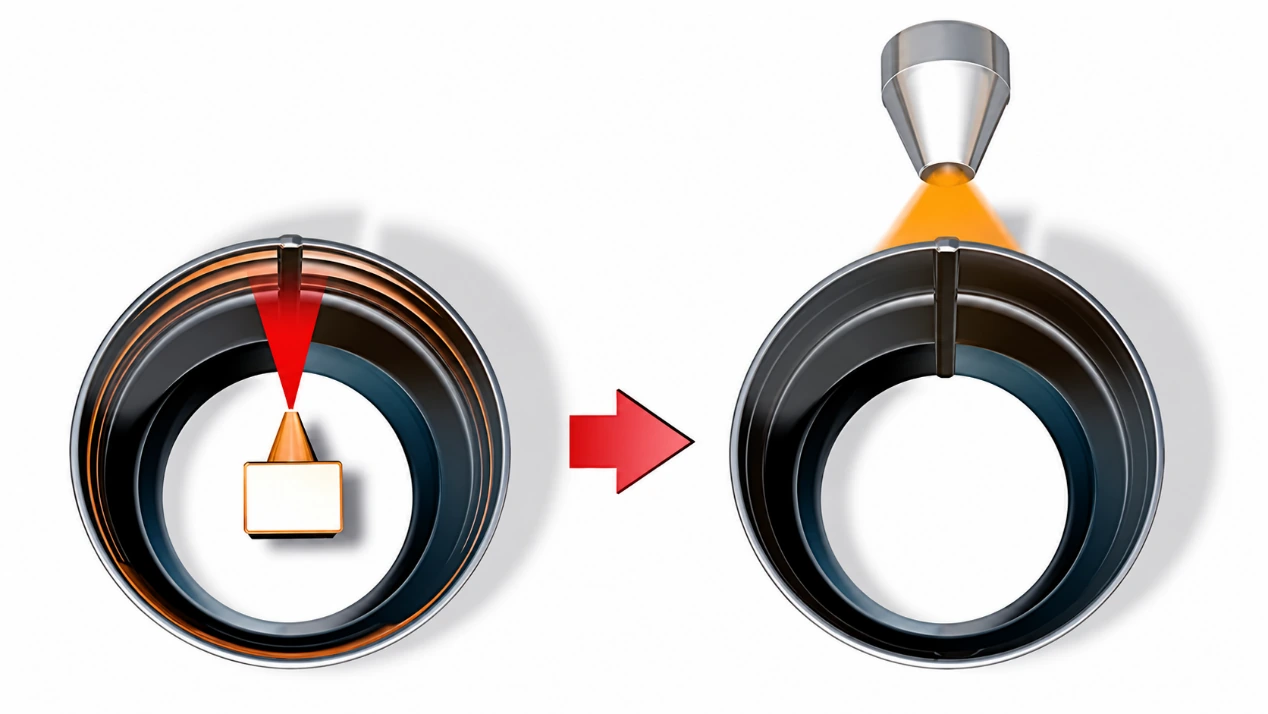
7. Coating Drying / Curing
The coated weld seam then goes through drying or curing.
Curing helps the coating bond firmly to the metal surface. Once cured, the coating forms a protective barrier over the weld seam.
This step cannot be skipped. An uncured or poorly cured seam coating may not protect the weld properly during storage, filling, sterilization, or transport.
8. Necking or Shaping, If Required
Some can designs require necking, shaping, or a special body profile.
Necking reduces the diameter at one end or both ends of the can body. The exact method depends on the can design, the type of end used, and the customer’s requirement.
Not every three-piece food can needs this step. It is used when the final design requires it.
9. Flanging
The top and bottom edges of the can body are flanged outward.
This prepares the body for double seaming with the can ends. A good flange gives the end seaming operation a stable edge to work with.
If the flange is uneven, cracked, or incorrectly formed, the later seam may not seal properly. So the flange shape must be controlled before the can moves to end seaming.
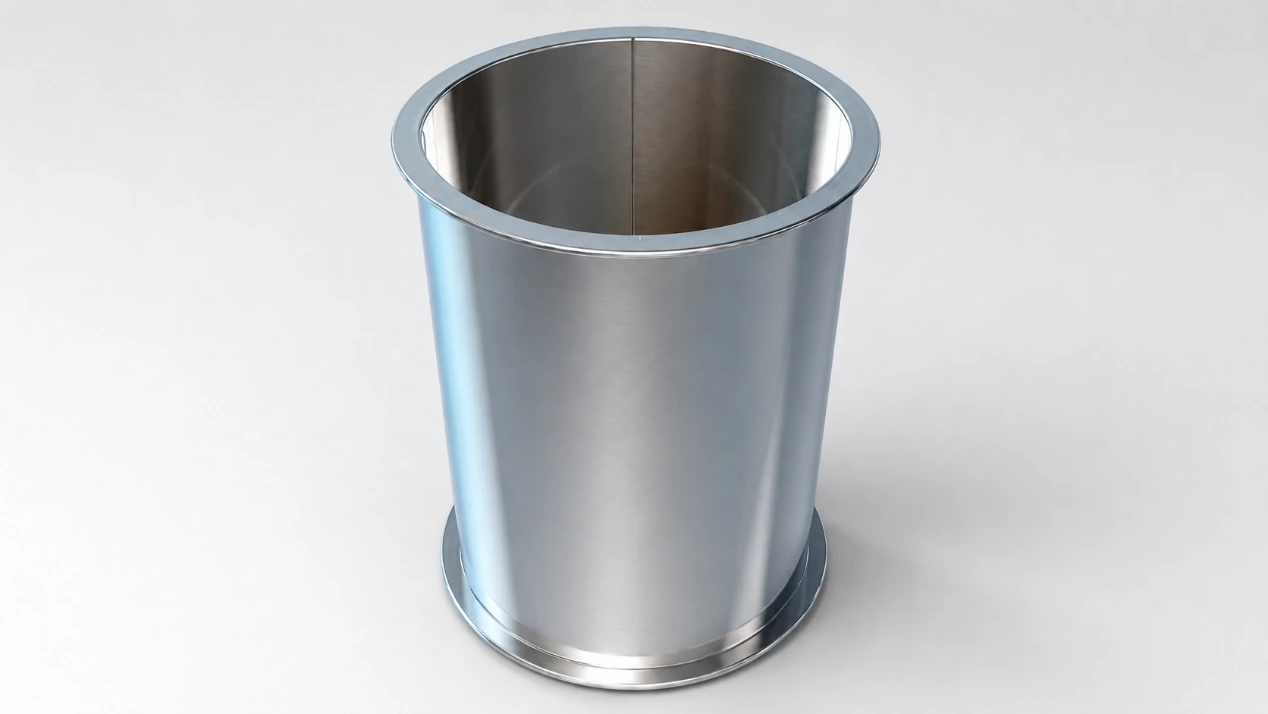
10. Bottom End Seaming
One end of the can body, usually the bottom end, is attached by double seaming.
The double seam locks the bottom end and the can body together. This creates a sealed bottom structure.
The top end is usually supplied separately to the food filler. After the food product is filled into the can, the filler seams the top end onto the can to close it.
So at the can manufacturing stage, the empty can normally leaves the line with the bottom end already seamed, while the top end remains separate.
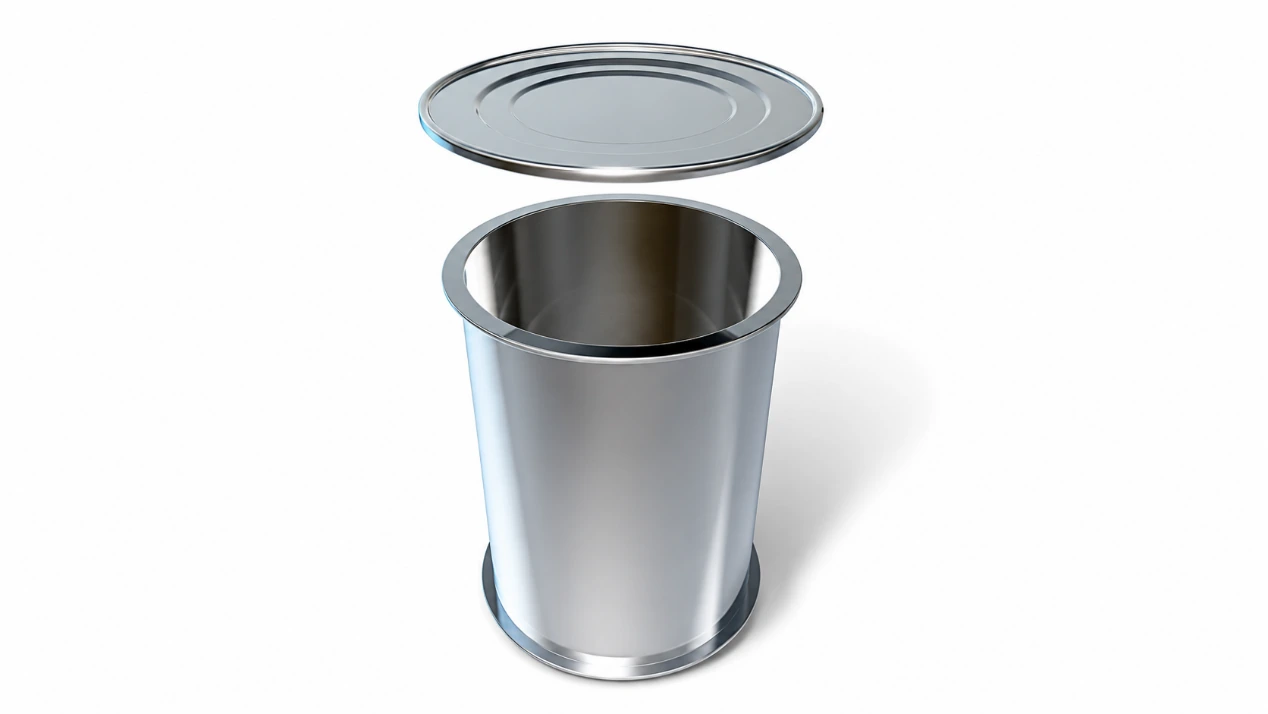
11. Beading
Beads are pressed into the wall of the can body.
These beads improve body strength and resistance to deformation. Food cans may go through filling, sterilization, transportation, and stacking. The body needs enough stiffness to handle these conditions.
Beading helps the can keep its shape under external pressure and process stress.
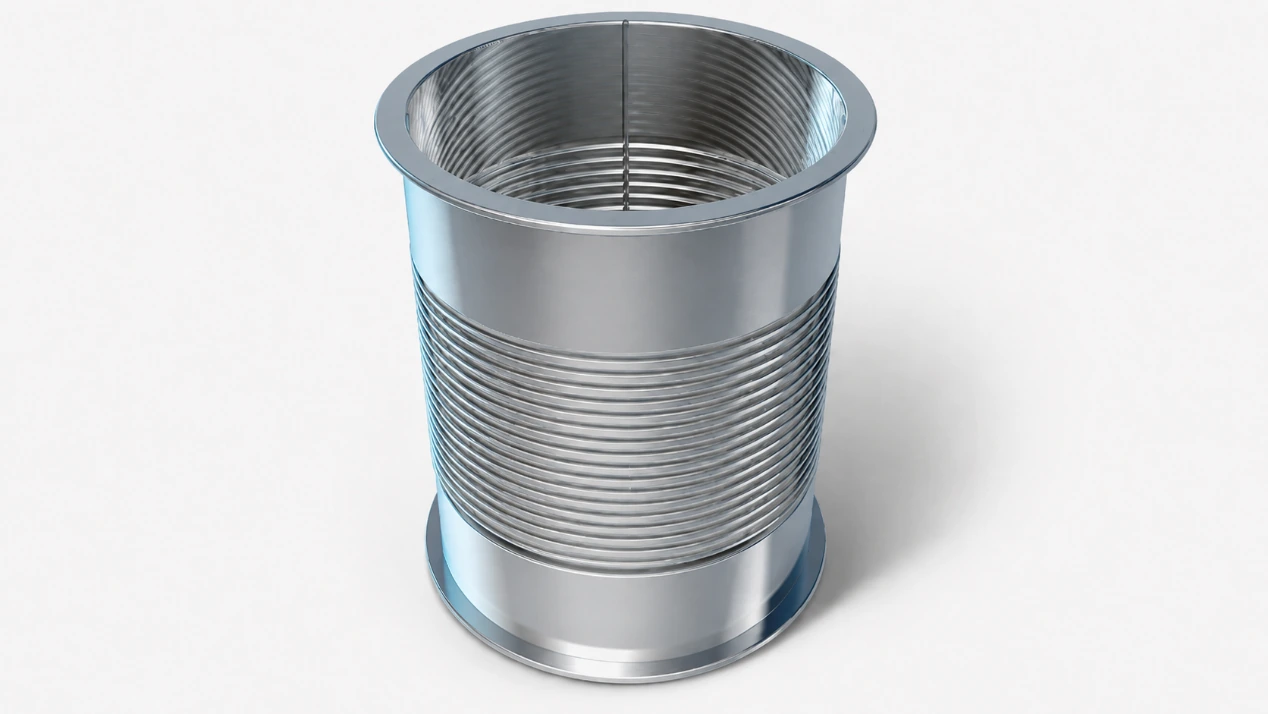
12. Inspection
Inspection is carried out throughout the production process.
A can may look acceptable from the outside, but that is not enough. The weld, coating, flange, seam, and body shape all need to be checked.
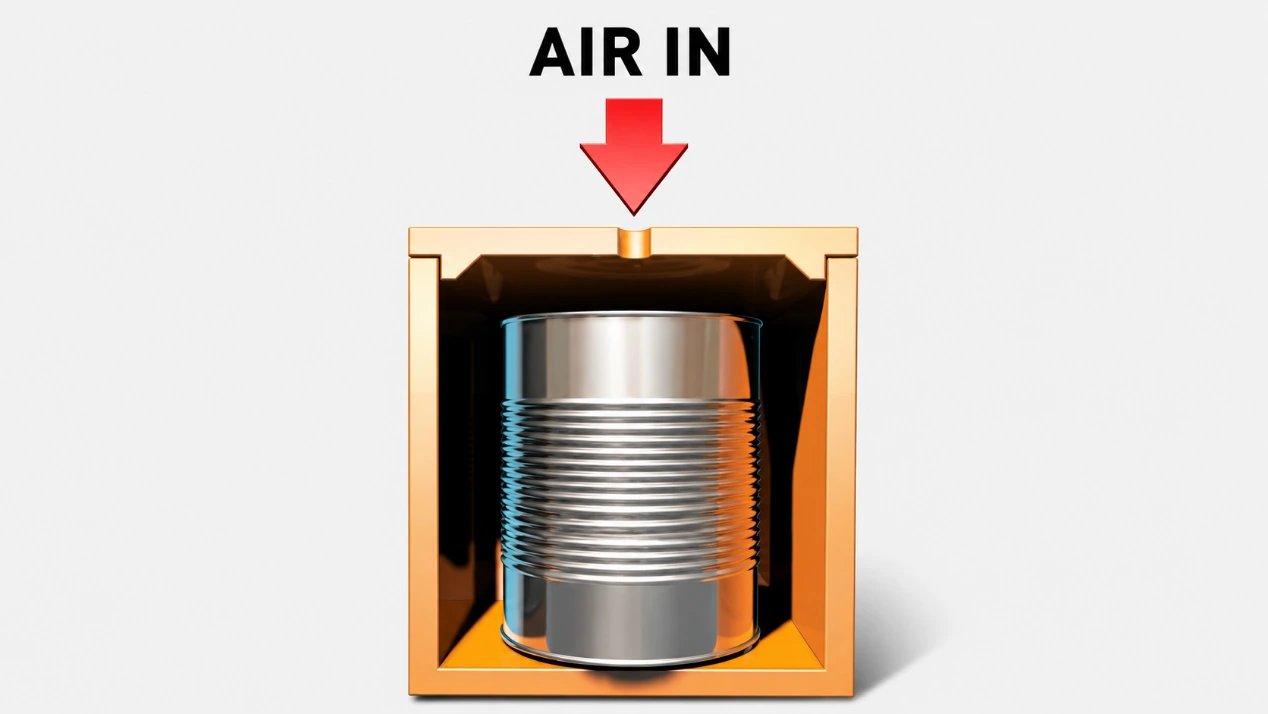
Each can body is tested for leakage to find welding defects, seam problems, pinholes, or other sealing failures. Only cans that pass the leak test can move to the next step.
The can is also checked for surface defects, weld quality, coating condition, flange quality, and body shape. At the final stage, cans pass through a pressure tester, which automatically rejects defective cans.
This keeps unstable cans out of the finished batch before packaging or filling.
13. Packaging and Palletizing
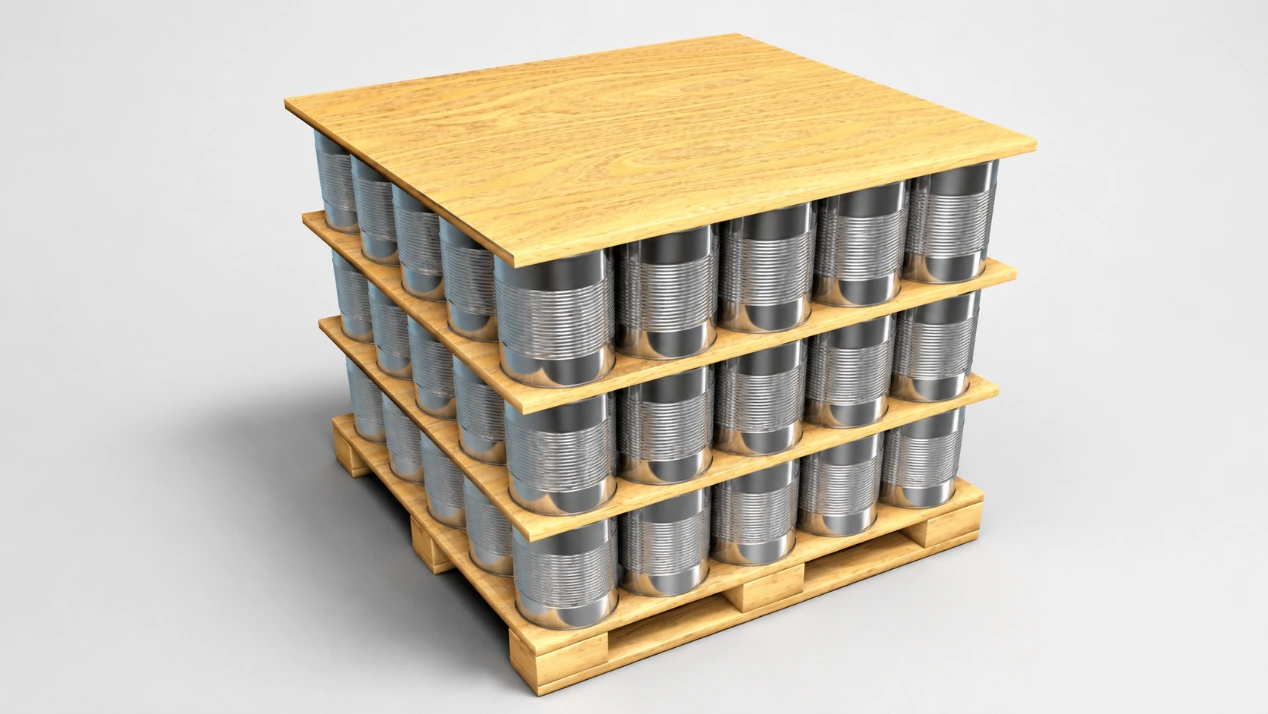
Qualified empty cans are counted, stacked, palletized, and wrapped.
Packaging protects the cans during storage and transportation. Empty cans can still be damaged by poor handling, compression, or contamination, so palletizing and wrapping are part of the production process, not just a logistics step.
After packaging, the cans are shipped to the food filling plant.
14. Conclusion
A three-piece food can is made through a controlled sequence of metal forming, side seam welding, coating, curing, flanging, end seaming, beading, inspection, and packaging.
Each step has a direct effect on the finished can. Poor welding can cause leakage. Weak coating can expose the metal to corrosion. Incorrect flanging or seaming can affect the final seal. That is why the process is checked at different stages instead of only at the end.
The goal is simple: produce an empty can body that is strong enough for filling, sterilization, transport, and stacking, while keeping the food safely separated from the metal surface.