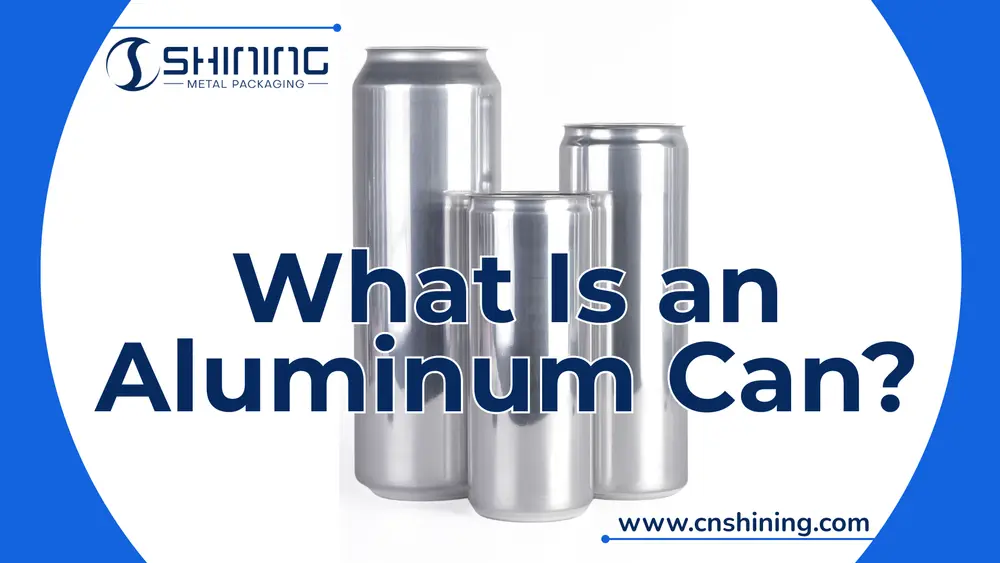
Aluminum Can Body Manufacturing Process
The aluminum can body is produced through a highly automated, high-speed two-piece can manufacturing line. According to the standard aluminum beverage can production process, the can body is formed and finished through the following steps:
Step 1: Aluminum Coil Loading
Production begins with aluminum alloy coils of suitable grade and thickness. The coils are mounted onto a decoiler, which automatically unwinds the aluminum sheet and feeds it into the production line under controlled tension.

Step 2: Lubrication
A thin layer of lubricant is applied to the surface of the aluminum sheet. This lubrication reduces friction during forming, protects the tooling, and prevents tearing or surface defects during the drawing and ironing processes.

Step 3: Blanking and Cup Drawing
The lubricated aluminum sheet enters a high-speed press where circular blanks are punched out. Each blank is immediately drawn into a shallow cup using forming dies. At this stage, the material begins its transformation from flat sheet to three-dimensional shape.

Step 4: Redraw, Ironing, and Bottom Forming
The cups are transferred via a conveyor to a redraw and ironing press. In this critical step:

- The cup is redrawn and forced through a series of ironing rings, which significantly thin the sidewalls while increasing the height of the can.
- At the same time, the bottom of the can is shaped into a domed (concave) profile, improving resistance to internal pressure and mechanical loads.
This step gives the can body its near-final dimensions and characteristic strength-to-weight efficiency.

Step 5: Trimming
After ironing, the top edge of the can body is uneven due to material flow. A trimming machine cuts off the excess metal (“ears”) to ensure uniform height and a flat, smooth rim, which is essential for later necking and seaming.

Step 6: Washing and Drying
The trimmed can bodies undergo a multi-stage cleaning process:
1. Degreasing and cleaning to remove residual lubricants, aluminum fines, and contaminants from forming.

2. Chemical treatment to create a thin organic conversion film on the aluminum surface, which improves corrosion resistance and provides a proper base for coatings.


3. Drying in an oven to remove moisture and prepare the can for decoration and coating.

Step 7: External Printing and Coating
The exterior decoration of the can body is completed in several sub-steps:

1. White base coat application and curing.

2. Color printing, where graphics and logos are transferred via offset printing blankets.


3. Over-varnishing, applying a clear protective layer over the printed design.


4. Bottom rim coating, protecting the sharp lower edge of the can.

5. Final curing, ensuring all inks and coatings are fully hardened.

Step 8: Internal Coating and Bottom Spray
A food-grade, transparent internal lacquer is sprayed onto the inside wall and bottom of the can. This coating prevents direct contact between the beverage and aluminum, ensuring product safety, taste stability, and corrosion resistance. The coating is then oven-cured.


Step 9: Necking
Using precision tooling, the open end of the can body is gradually reduced in diameter. This necking process allows the use of a smaller lid, reducing material consumption while maintaining sealing performance.

Step 10: Flanging
After necking, the can rim is flanged outward to form a uniform curl. This flange is critical for the later double-seaming operation, where the can end will be mechanically locked to the filled can.

Step 11: Inspection and Internal Imaging
Every can body is inspected automatically:
- Light inspection checks the exterior for cracks, pinholes, or dimensional defects.
- Internal camera inspection examines the inner surface and coating quality.
Defective cans are automatically rejected from the production line.

Step 12: Palletizing and Packaging
Qualified can bodies are stacked, strapped, wrapped with protective film, labeled, and prepared for shipment to beverage filling plants.

FAQ
A: Post-ironing, the sidewall thickness is typically reduced to 0.1-0.15 mm with heights varying by can size, such as 115-180 mm for common beverage cans. Engineers should verify against specifications to ensure compatibility with filling equipment.
A: The concave dome enhances structural integrity, allowing the can to withstand internal pressures up to 6 bar without deformation. Procurement teams should prioritize this feature for carbonated beverage applications to minimize failure risks.
A: Necking reduces diameter to about 52-57 mm with tolerances of ±0.1 mm to ensure lid fit. Inconsistent tolerances can lead to sealing issues, so inspect tooling wear regularly during production.
A: Use internal imaging and holiday detection tests to check for pinholes or uneven coverage in the lacquer. For procurement, require suppliers to provide certification of food-grade compliance and corrosion test results.
A: Uneven rims can cause seaming failures, leading to leaks or structural weakness. Engineers should implement height checks post-trimming, while procurement focuses on machine precision specs to avoid rework costs.
A: Alloys like 3004 or 3104 are standard, but mismatches can affect formability and strength. Test coil samples for elongation and tensile properties before full procurement to ensure process compatibility.
A: The outward curl must be uniform at 1.5-2 mm to form a tight seal. Dimensional defects here increase leak risks; conduct pull tests on samples during acceptance to validate performance.
A: Water quality and chemical concentration must be controlled to avoid residue that impairs coatings. For procurement, select eco-friendly chemicals that meet regulatory standards without compromising corrosion resistance.