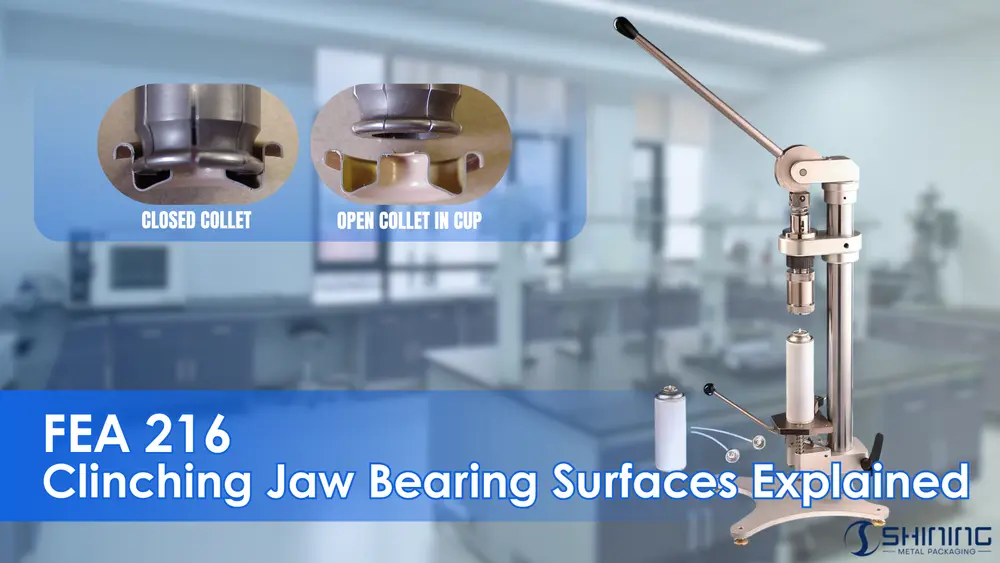
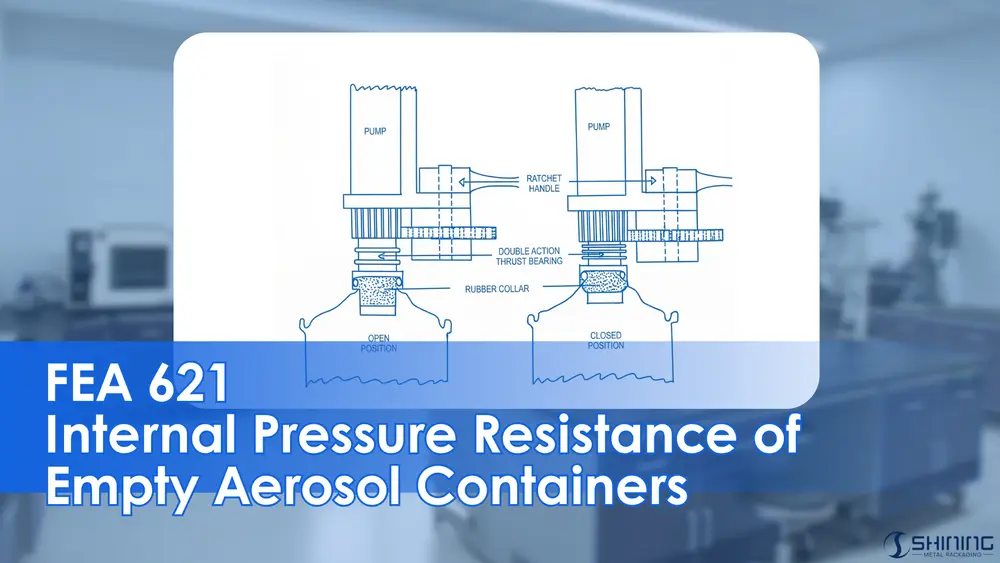
Standard Overview
FEA 216 is an industry standard issued by the European Aerosol Federation (FEA), defining the geometry of the bearing surfaces of clinching jaws (collets) used to crimp aerosol valves onto metal containers.
Unlike container or valve standards, FEA 216 focuses exclusively on the tooling interface— the part of the system that physically creates the seal.
1. Scope and Application
FEA 216 applies to clinching jaws used for:
- Valve cups according to EN 14848
- 25.4 mm aerosol containers according to EN 14847 (tinplate)
- 25.4 mm aluminium containers according to EN 15006
The standard defines:
- Jaw geometry in closed and expanded positions
- Critical radii and clearances
- Allowable wear limits
2. Clinch Jaw Geometry – Engineering Meaning
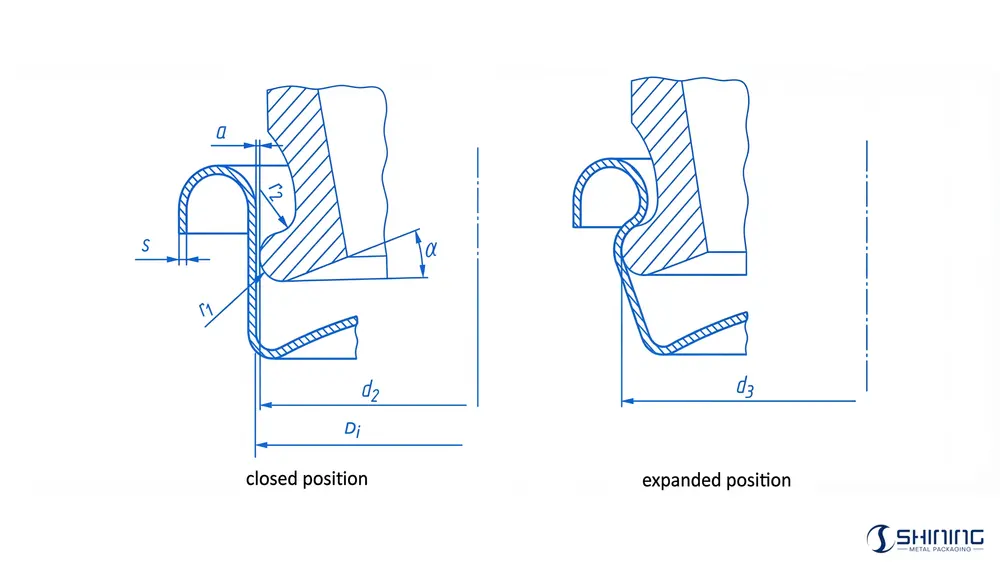
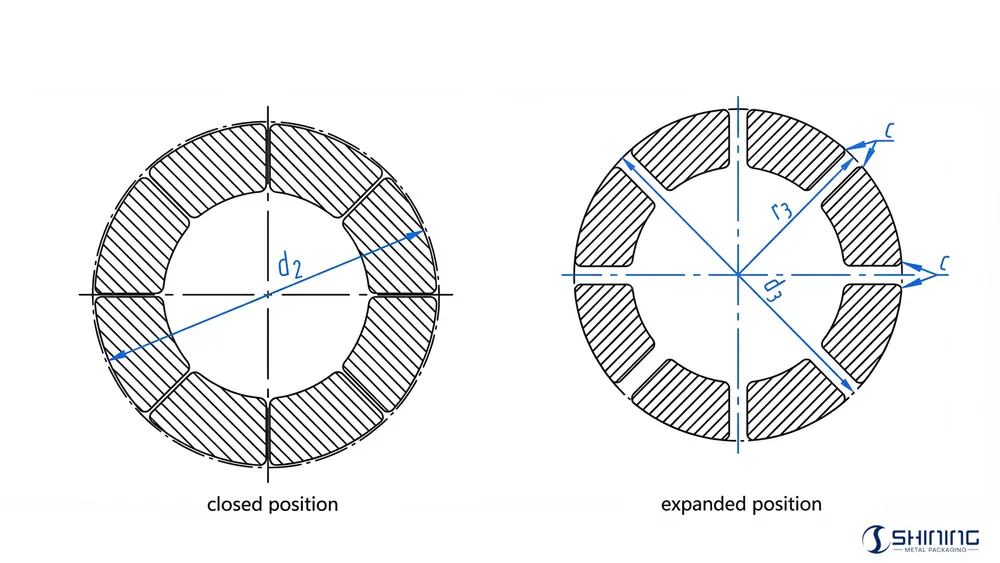
- a: Minimum distance between the jaw finger and the inner wall of the valve cup during movement. This is critical to avoid metal-to-metal contact.
- α: Release angle of the jaw, preventing contact between the tool’s lowest surface and the valve cup.
- d2: The maximum diameter of the jaws permissible during the tool’s movement in and out of the valve cup.
- d3: Diameter across the jaws in the expanded position.
- Di: is the internal diameter of the valve cup.
- r1: Jaw finger radius. The minimum value is the limit during production, while the maximum value is the limit after tool wear.
- r2: Shaft radius of the clinching collet, important for tool durability and performance.
- s: is the material thickness of the cup plate
About “d2”: The value for parameter “d2” should be chosen so that it is compatible with parameter “a”. d2 = Di – 2a
Release Angle “α”
The release angle prevents unintended contact between the lower jaw surfaces and the valve cup during clinching. Both flat and conical jaw bottoms are permitted.
Jaw Finger Radius “r1”
The jaw finger radius is one of the most critical parameters:
- Minimum value: manufacturing lower limit
- Maximum value: wear limit during use
3. Dimensional Requirements
| Parameter | Specified Range | Functional Impact |
|---|---|---|
| Material thickness (s) | 0.25 – 0.6 mm | Valve cup plate thickness |
| Clearance (a) | 0.2 – 0.3 mm | Avoids metal contact |
| Jaw finger radius (r1) | 0.5 – 1.2 ±0.02mm | Controls clinch deformation |
| Shaft radius (r2) | 1.2±0.7mm | Structural stability |
| Edge radius (c) | ≤ 0.5 mm | Prevents valve cup piercing |
| Release angle (α) | ± 15° | Jaw disengagement safety |
4. Tool Wear and Process Stability
FEA 216 explicitly accounts for jaw wear during service life. The permissible increase in jaw finger radius is built into the tolerance system.
Ignoring jaw wear often results in:
- Gradual loss of sealing efficiency
- Inconsistent contact height readings
- Delayed leakage during storage
5. Practical Application Scenarios
Filling Line Operation
FEA 216-compliant jaws provide predictable clinch geometry across high-speed production.
Maintenance and Tool Management
The standard gives maintenance teams objective criteria to decide when jaws must be replaced.
Supplier and Equipment Qualification
Specifying FEA 216 in equipment procurement aligns tooling performance across multiple filling lines.
Download the Standard PDF
This document provides FEA 216, specifying dimensions of the bearing surfaces of clinching jaws used for valve crimping on metal aerosol containers. It supports correct tool geometry, controlled wear, and reliable clinch quality in production and quality assurance processes.
FAQ – Engineering & QA
FEA 216 is not legally mandatory, but it represents proven and widely accepted industry practice. In many filling plants, it is treated as a reference standard when diagnosing unstable clinching or unexplained leakage issues.
No. FEA 216 applies specifically to 25.4 mm valve systems. 20 mm systems use different ferrule geometry and tooling concepts and are covered by separate FEA standards.
Jaw wear directly changes the effective jaw finger radius and contact geometry. As wear increases, sealing pressure distribution deteriorates, often causing delayed leaks even when nominal settings appear unchanged.
Yes, different numbers of jaw segments may be used. However, the bearing surface geometry and dimensional limits defined by FEA 216 must still be respected to ensure uniform deformation.
Valve cup piercing is usually caused by sharp edges, excessive wear, or radii exceeding allowable limits. Incorrect clearance or damaged jaw surfaces concentrate stress on the cup material.
Yes. Geometry determines how the applied force is distributed around the valve cup and gasket. Increasing force alone cannot compensate for incorrect jaw geometry and often makes sealing problems worse.
Inspection frequency depends on production volume, material hardness, and operating speed. In high-speed lines, regular monitoring of jaw radii is essential to prevent gradual loss of sealing performance.
Yes. Even fully compliant cans and valves can fail if the clinching jaws are incorrectly designed or worn. Tooling geometry is the final and decisive factor in achieving a reliable seal.

